Making a cafe-quality espresso at home usually requires a thousand(s) of dollars and a barista level-knowledge. Or, you can get full control and nicely extracted espresso with relative ease with a Flair espresso maker.
Flair took the coffee world by storm with its original manual espresso machine in 2016. It is fully manual: you fill the brew head with hot water and pull down the lever to extract espresso. The design is elegant and simple, and they’re nicely portable and a great value as well.
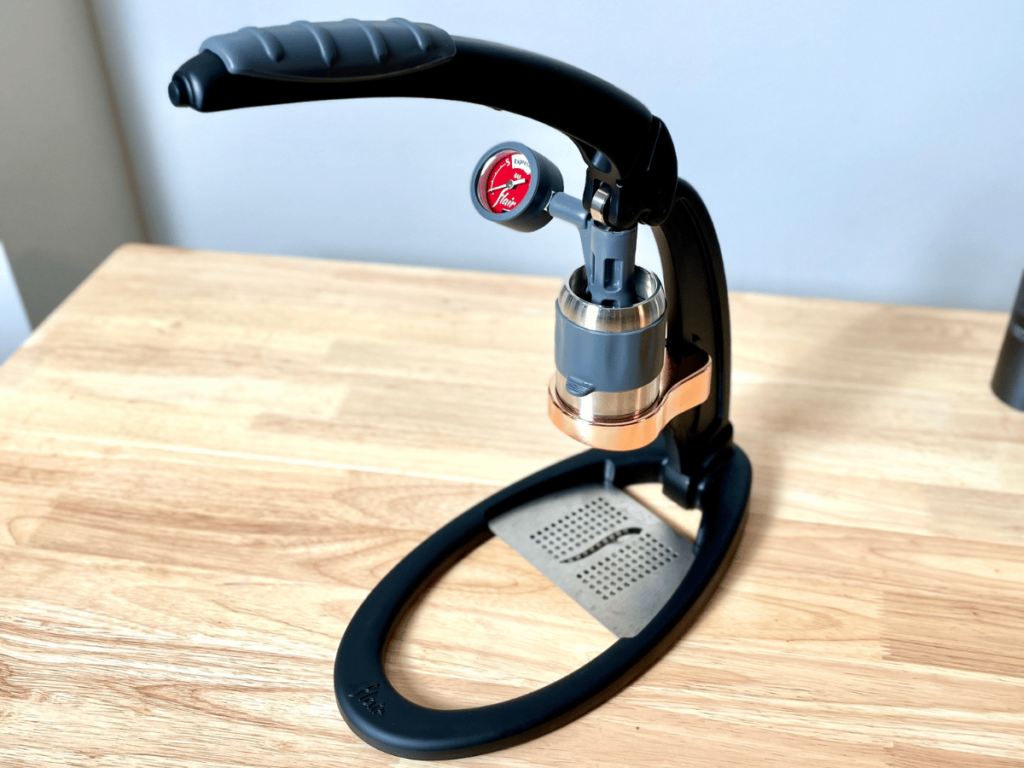
Flair has five models. I’ll walk you through each of them after using a Pro 2 model, so you can choose the right Flair espresso maker. I recommend either the entry-level Neo (plus a pressure gauge) or the high-end Flair 58, which is almost semi-automatic.
About Flair
Flair got its start via a Kickstarter campaign in 2016. The founder, Sergio Landau, a Brazilian mechanical engineer, had one goal: to bring back the espresso to its basics and get rid of the complexity of high-end espresso machines. He created fully manual espresso machines inspired by the lever-powered devices that baristas in Italy used from the 1940s until 1960 (when the development of electric motor-driven machines happened).
There are currently five Flair espresso machines, all of which have a similar, simple design. A lever that forces water through a small, compressed coffee puck to produce espresso. You need to have an outside way of producing hot water, such as a kettle.
Flair manual espresso maker has a stainless steel brewing head and a rigid container that doesn’t expand with pressure, so it makes a consistent cup of delicious espresso every time. Each Flair manual espresso maker has a cylinder with a maximum water capacity of 90 ml, so it’s easy to control the extraction time between 30 and 45 seconds. Your arm controls how much pressure you apply and not the machine’s brew head.
Flair espresso makers are more affordable than semi-automatic and super-automatic devices. They are also light and portable, starting at about five pounds. They come with a carrying case so you can take them on road trips, camping, and more, as long you can boil water too.
Finally, there’s a five-year limited warranty, which inspires confidence, especially considering most more expensive machines only have one or two-year warranty.
Key Features Of The Flair Espresso Maker
All Flair espresso machines are pretty similar (except for Flair 58). If you understand one, you understand all of them, so here’s a rundown of their design, use, and value.
Design
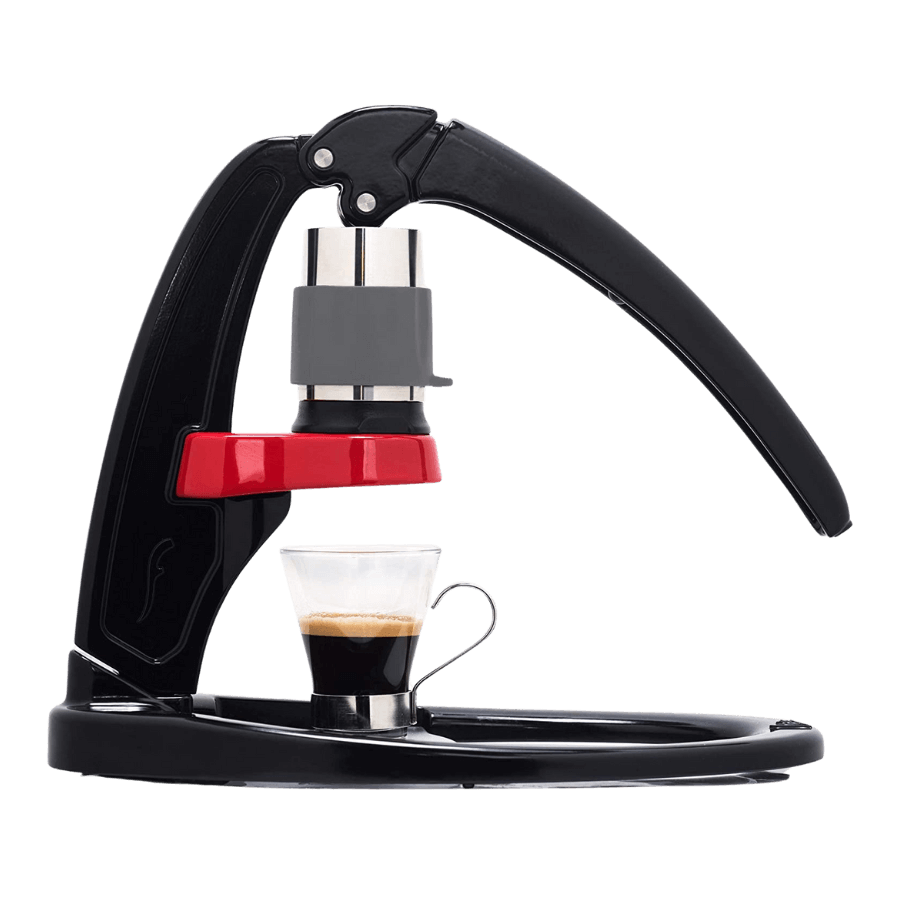
Flair espresso makers have a simple but modern, minimalist design. The original Flair espresso machine had everything you need to make a cafe-quality espresso and nothing more. The subsequent models stay true to this minimalist design, which shows you don’t need much to pull a quality espresso shot.
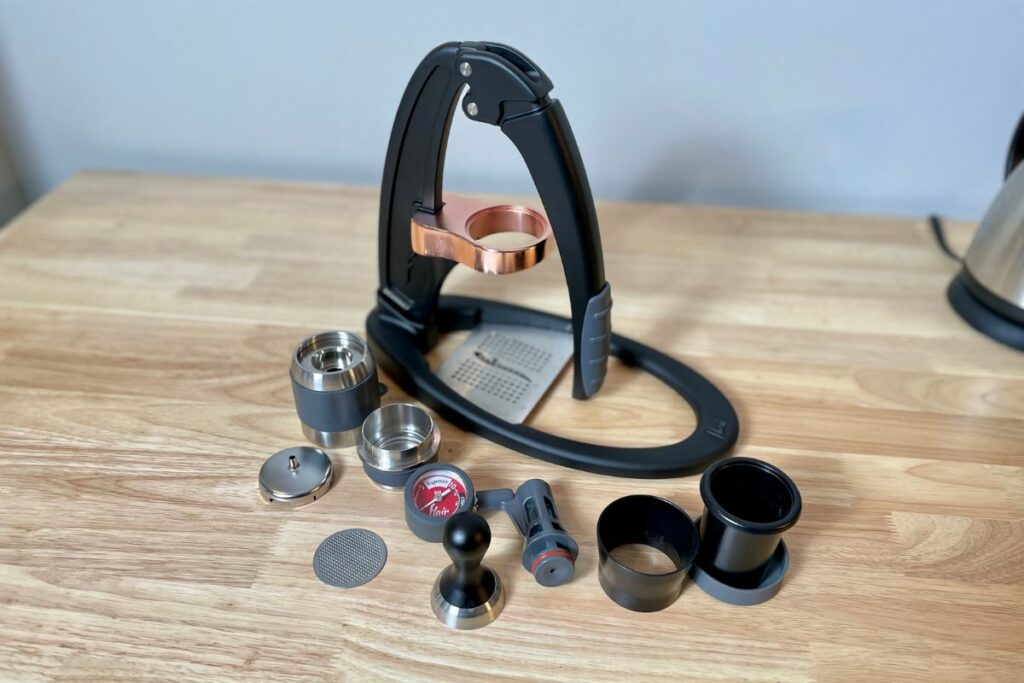
The models vary in terms of accessories and upgrades they have, but they all have good build quality. These manual espresso machines are made of cast aluminum (the base) and stainless steel (group head, lever, and portafilter holder). Both are durable metals that can withstand use over a long time. The group head has quality rubber inner rings that didn’t leak at all, at least on my Pro 2 model.
These manual espresso makers are light and portable, weighing about five pounds upwards, even though they have a stainless steel build.
Each model has a base, a lever, and a brewing chamber which are easily disassembled for portability. Most Flair espresso devices have a cylinder with a water capacity of 60 ml, while the Flair 58 goes to 90 ml. You control the amount of pressure instead of a brew head.
All five models have a similar aesthetic of smooth curves, almost resembling a sculpture. Design is a matter of preference, but I felt this was a showpiece for my counter, and I didn’t want to store it away between brews (Signature and Pro 2 models have copper-plated group heads that I felt were especially gorgeous).
Using The Flair
I won’t lie; brewing espresso with Flair espresso machines requires a learning curve, particularly around the setup and cleaning.
You need to preheat the brewing chamber before pulling a shot, which is a somewhat fiddly process.
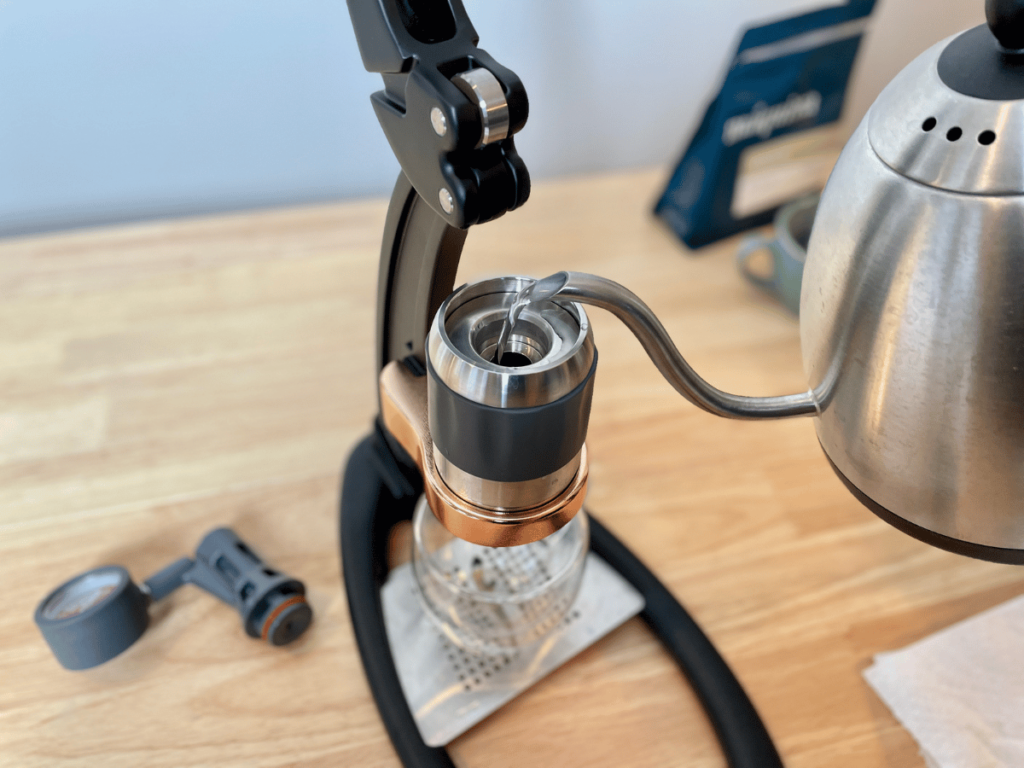
Here’s the basic steps to use a Flair espresso machine:
- Preheat the brew head with hot water (more below).
- Grind the coffee beans, fill the portafilter, and tamp. Put the dispersion screen on top of the coffee puck. The dispersion screen is important!
- Place the cylinder on top of the portafilter, and place it on the base.
- Add water (temperature should be between 194 to 204 degrees).
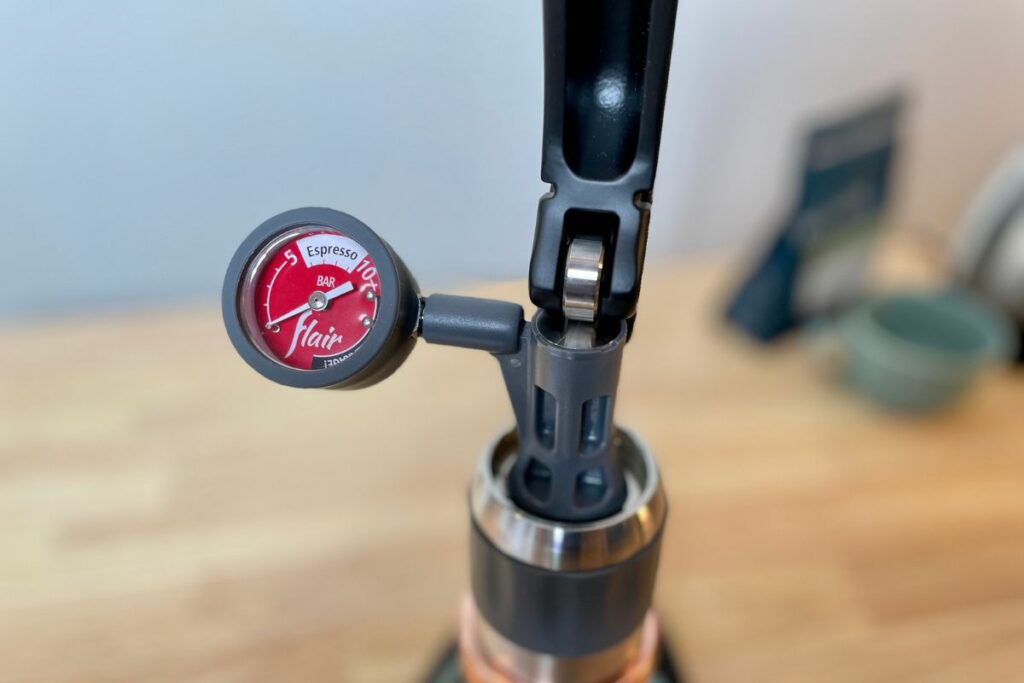
- Put the pressure gauge on top.
- Press the lever down so the water goes through the coffee puck.
- Keep an eye on the pressure gauge. You want to start with a low-pressure pre-infusion for a few seconds, then increase pressure, so it’s reading 5-10 bars.
Pro tip: once you finished your shot, press out the remaining water into another glass. This will make cleaning up much easier.
The Flair espresso maker is made for single-serve brewing, so if you want to pull several espresso shots, you’ll have to invest a lot of time (it takes about three minutes to pull one shot…with practice).
You’ll have to experiment at the start to understand the brewing process and how to dial in your espresso. If your pressure gauge is reading over 10, grind coarser. If the shot takes sub-20 seconds, grind finer. Once you understand how to pull a shot you like, it’s a straightforward process.
I’ve been around the block when it comes to brewing espresso, yet it took me about five tries to hit the sweet spot. It took a while to dial-in the grind size, and I used 17 g of coffee. Make sure to push the puck screen down so it stays in place. Otherwise, it gets loose, and the puck won’t be compressed for a good extraction.
Another important point is the arm strength needed. The pressure adjusts to your force, the grind size, and the tamping technique. I found it makes a huge difference when I push the pressure to nine to ten bars instead of leaving it at five to six. Nine to ten bars resulted in a good, consistent espresso. Plus, you’ll get your arm workout in.
Built-in Pressure Gauge or a Detachable Brewing Head
You need to preheat Flair’s brew head, or it’ll sap the heat from your espresso. Different Flair manual espresso makers have different brew heads. For example, Flair Classic’s brew head is 265 g, while the Pro’s is 520 g. The higher thermal mass increases temperature stability. But, a bigger brew head also needs more energy to be heated, as this is a large chunk of stainless steel.
You get a preheat cap with Pro models. This silicone lid easily slides onto the bottom of the brew head, so you can pour water into the cylinder — there’s no need to use the bowl as is the case with the more basic Flair espresso maker.
The brew head is removable and disassembles into four separate parts:
- The portafilter, where you insert the ground coffee and tamp
- The dispersion screen, which you put on top of the coffee
- The cylinder to which you add hot water
- The lever, which you press to move the piston down, which forces the water through tightly packed coffee grounds.
You also need sufficient pressure to brew espresso. Traditionally, 9 bars of pressure makes the best espresso. This is a manual lever espresso machine, so you have manual control and can experiment with flow profiling.
Note: Only upgraded models (Pro and up) have the pressure gauge, but you can get a separate upgrade. I definitely recommend one, as a pressure gauge helps calibrate extraction. However, once you develop muscle memory, you won’t rely on it.
Espresso Quality
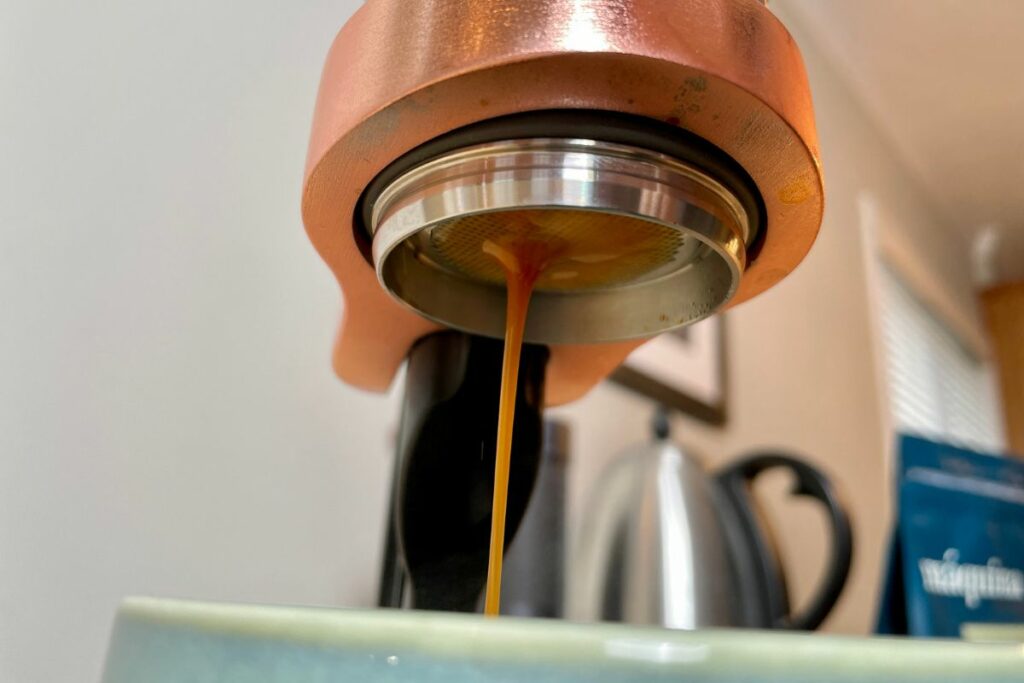
Overall, the Flair manual espresso maker is a great home espresso machine that can produce a flavorful espresso with a thick layer of cream. However, the espresso quality depends on your grinder and barista skills.
It takes time to get up to speed and dial in the perfect shot, but once you do that, you’ll have consistent espresso results.
Value
Each Flair espresso maker is a great value for money. The price goes from about $150 to slightly over $300 for the Pro 2. This is a bargain, especially considering the design and espresso quality you get.
If you only drink espresso and want a durable, manual espresso maker that won’t break the bank, the Flair espresso maker could be a perfect choice.
Obviously, you’ll need a kettle and a grinder to use the Flair. One other important tool is a scale. The scale is really necessary to make sure you’re getting the right shot volume, and ideally, a scale that is 3” or less to fit beneath the portafilter.
Individual Reviews: Flair Espresso Maker Line-Up
| Image | Product Name | Features | Price |
|---|---|---|---|
 |
| Check Amazon | |
 |
| Check Prima Coffee | |
 |
| Check Amazon | |
 |
| Check Amazon | |
 |
| Check Amazon |
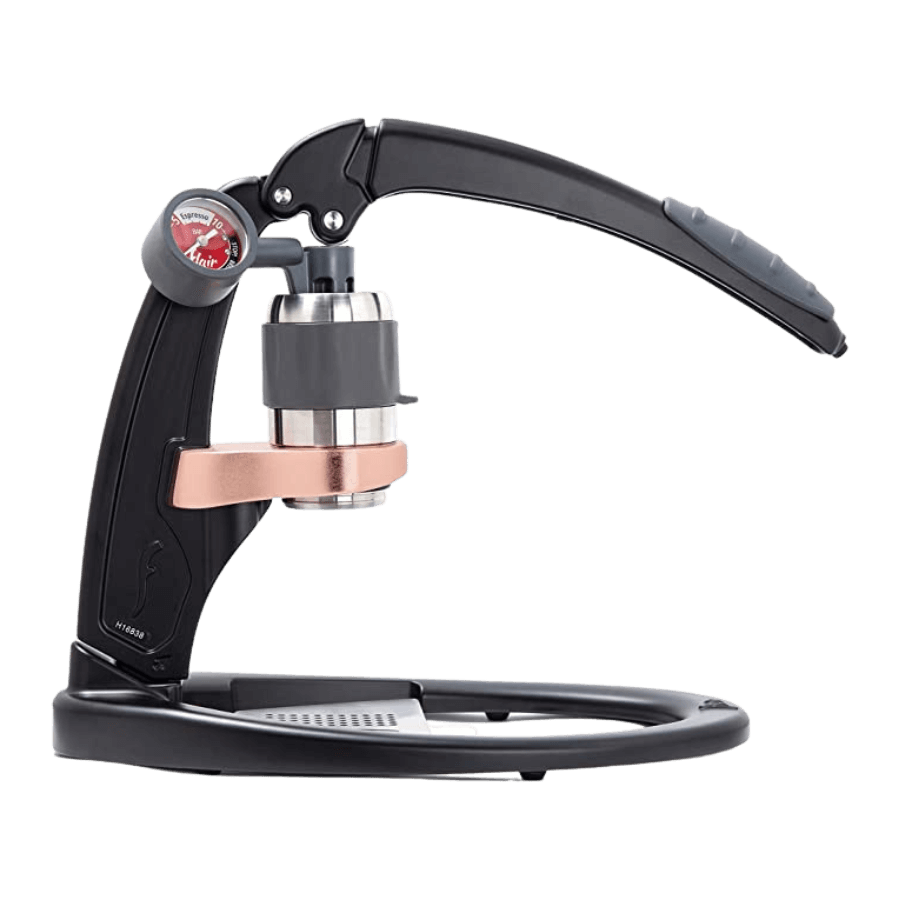
1. Flair Pro 2

Flair Pro 2 specs:
- Dimensions: 14 × 10 × 4 in
- Cylinder Size: 70 ml
- Max Yield: Up to 56 ml
- Pressure gauge included: Yes
Flair Pro 2 is the Flair espresso model I tested. This might be the best value of the Flair lineup, as It’s considerably more expensive compared to the Flair Classic, but it has a better build quality and a larger capacity. However, it’s not the ultimate like the Flair 58.
Flair Pro 2 has a 46 mm portafilter and a 70 ml reservoir, which is a larger capacity compared to other Flair models. The portafilter and the dispersion screen are made of stainless steel and not plastic.
Flair Pro 2 also has a built-in pressure gauge, which is especially useful in the beginning. I liked the silicone grip on the handle for easier operation, a removable portafilter spout, and a stainless steel tamper. This model has a bottomless portafilter which lets you see every bit of the extraction process.
The portafilter has a larger capacity than the other Flair models. It holds up to 24 g of ground coffee and yields 56 ml of espresso.
The Pro 2 is the only Flair model with enough capacity to approach a double shot. Keep this in mind if you want a strong caffeine kick in the morning. I could pack in 20 g but didn’t go beyond this.
Overall, this is a great model if you want a manual espresso machine that produces quality espresso and you have some room in your budget. It’s also a good choice if you don’t want to get an additional pressure gauge and want a larger portafilter capacity.
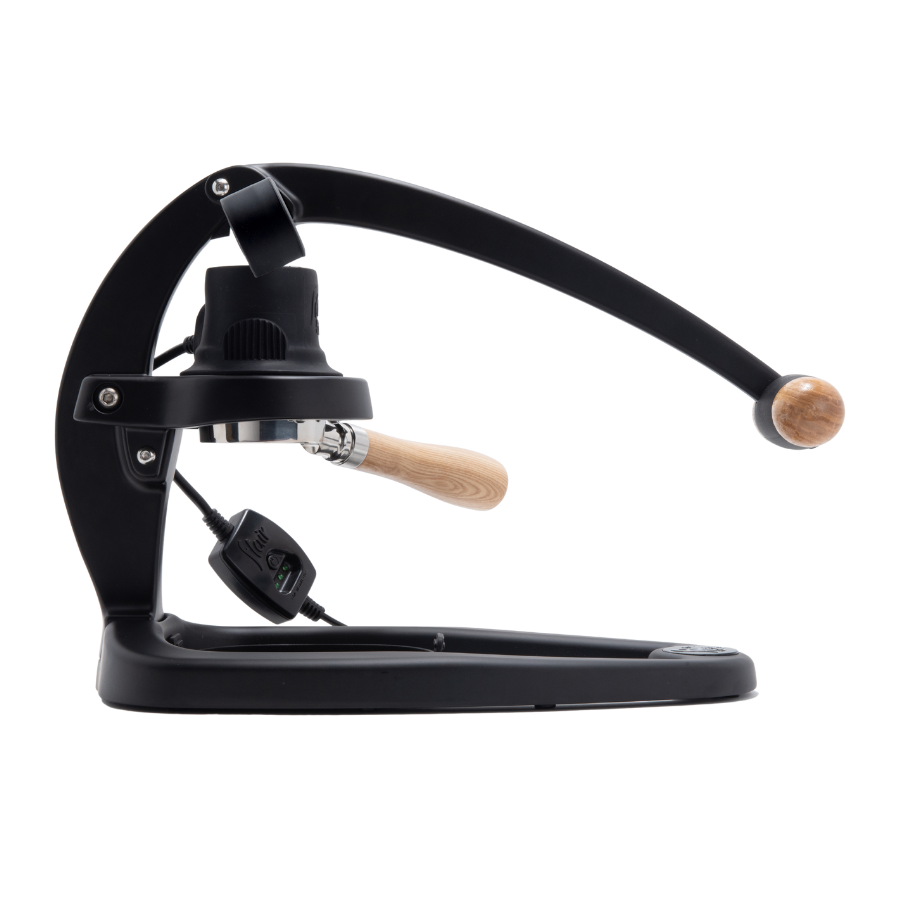
2. Flair 58

Flair 58 specs:
- Dimensions: 20 × 14 × 6 in
- Cylinder Size: 90 ml
- Max Yield: Up to 55 ml
- Pressure gauge included: Yes
Flair 58 is the latest Flair espresso maker. It’s significantly more expensive than its predecessors, but for a good reason: this model is comparable in ease of use to a more expensive semi-automatic.
The electronic temperature control system is the main feature that differentiates it from other Flair models. There’s no need to preheat the espresso machine before brewing (which was the main complaint for the Flair Pro 2 and most manual machines). This ensures thermal control and speedier espresso brewing. However, it also means you need an electric outlet to use this espresso maker.
The heating system only heats the brew head, not the water, so you still need a kettle. It has three temperature levels: 185, 194, and 203 degrees. You have to plug in the espresso machine, choose the temperature, and wait about five minutes for it to heat. You can use this time to grind the coffee and boil the water, so there’s essentially no additional waiting time.
This model has a professional grade 58 mm portafilter (hence the name) with a wooden handle. It’s the same portafilter of typical semi-automatics. The espresso maker has a robust build and a new lever design that further adds to ease of use.
Flair 58 is a good choice if you want something that gets close to a semi-automatic espresso machine but where you can control the pressure. Opt for this if you have the budget.
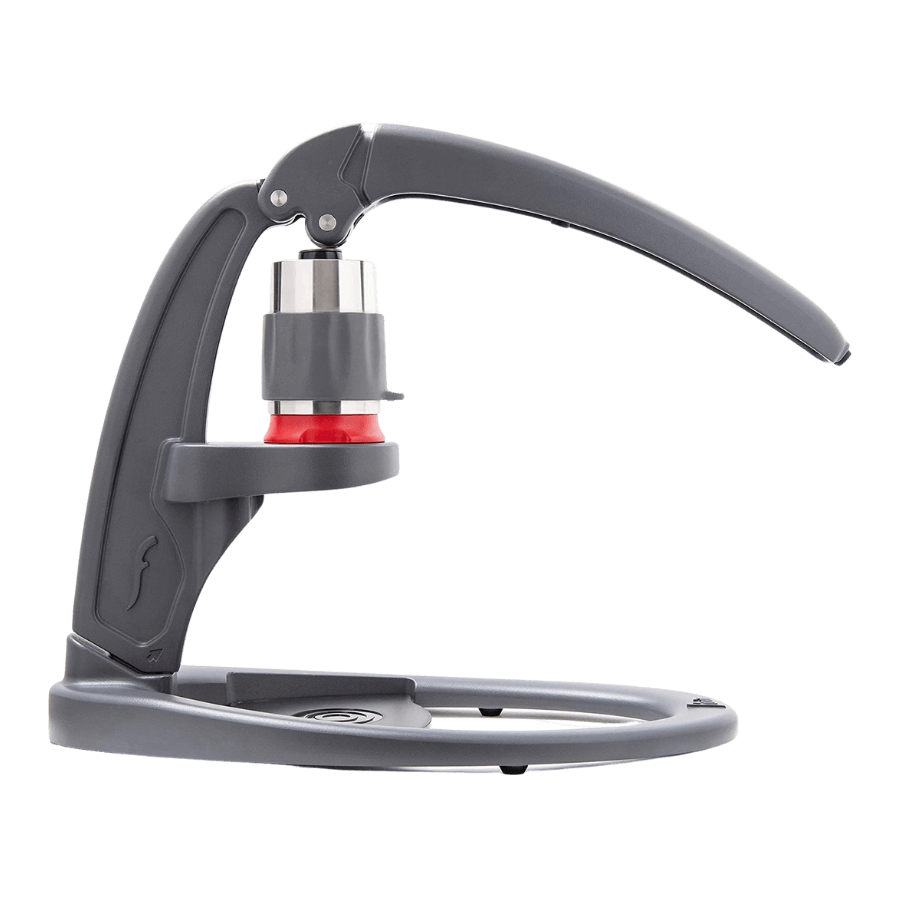
3. Flair Neo

Flair Neo specs:
- Dimensions: 14 × 10 × 4 in
- Cylinder Size: 60 ml
- Max Yield: Up to 40 ml
- Pressure gauge included: No
Flair Neo is the basic Flair espresso maker. This is the most affordable device of the Flair manual espresso makers, priced cheaper than even the budget espresso machines out there.
Neo is great for espresso newbies who are just getting into espresso brewing. It has a standard brew head and a flow-controlled portafilter that restricts the flow for good pressure and proper extraction time. The portafilter lets you brew with pre-ground coffee and still has good-quality espresso.
Keep in mind Neo does not come with a pressure gauge.
Overall, the Flair Neo is a great choice for beginners. It’s my choice if you want to test the waters with manual espresso but want a device that can make consistent shots.
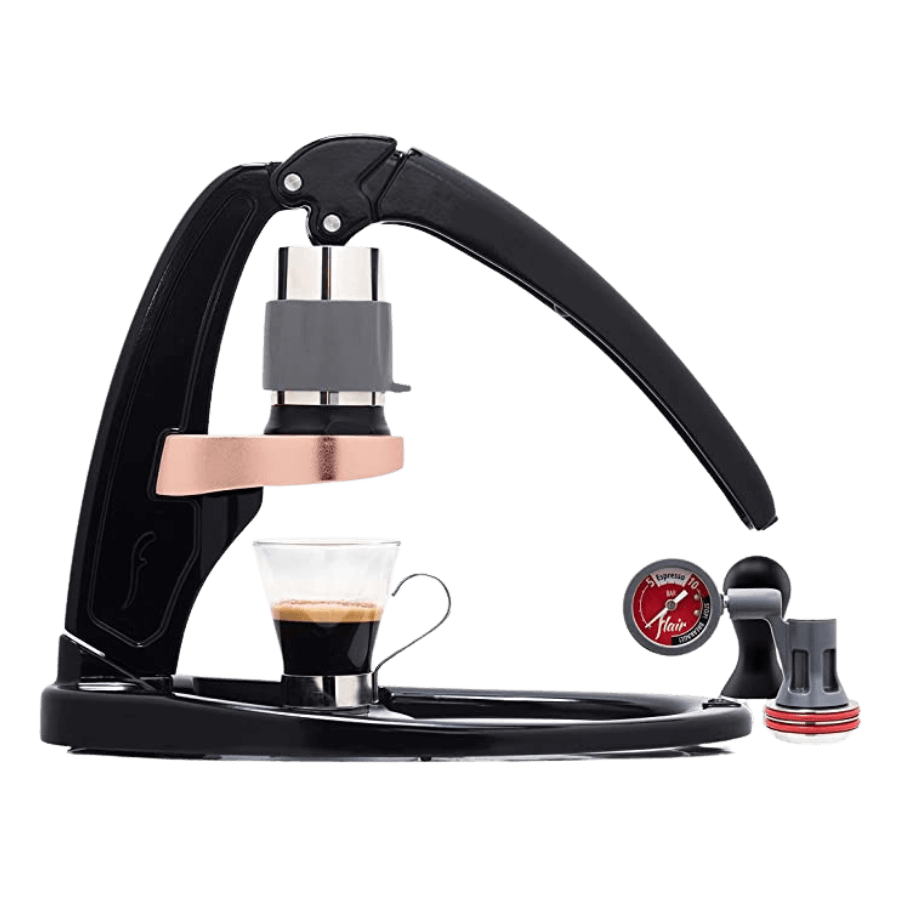
4. Flair Signature

Flair Signature specs:
- Dimensions: 14 × 10 × 4 in
- Cylinder Size: 60 ml
- Max Yield: Up to 40 ml
- Pressure gauge included: Yes
Flair Signature has a copper-plated portafilter base. It’s a more expensive option than Flair Neo, but it comes with an integrated pressure gauge and a stainless steel tamper.
You can choose between brushed chrome, matt black, or a white finish.
The Flair Signature espresso maker makes consistent espresso the same as more affordable Flair models, but you’re paying more for an upgraded design and accessories.
This is a good choice if you want an affordable model with a pressure gauge but don’t have room in your budget for Flair Pro 2 or Flair 58.
5. Flair Classic

Flair Classic specs:
- Dimensions: 14 × 10 × 4 in
- Cylinder Size: 60 ml
- Max Yield: Up to 40 ml
- Pressure gauge included: No
Flair classic is the first and most affordable Flair model. It comes with a standard brew head and a bottomless portafilter.
This is a basic version, so there’s no pressure gauge. It uses 12 to 18 g of coffee and has a maximum output of 40 ml.
Flair Classic is a good choice if you’re a beginner and have a good grinder you can use with this machine. It’s also worth considering if you’re on a budget and want an affordable machine that makes good espresso. That said, I’d stick with the Neo instead.
Should You Buy A Flair?
Yes! It’s a great and affordable way to get into manual espresso. Flair manual espresso makers have a durable stainless steel build, are lightweight, compact, and, most importantly, consistently produce quality espresso. You can choose between several models, depending on your preferences and budget. You’ll need to experiment with dialing in the shot until you find what works best for you.
Overall, Flair 58 and Pro 2 are excellent choices that come with useful add-ons. Flair Neo is a good choice because of its low cost.
Pros
Affordable — Manual espresso makers are less expensive than automatic ones. Flair models make the best possible espresso for the lowest price.
Portable — Flair models are lightweight and compact and can be used anywhere.
Long warranty — Each model has a limited five-year warranty.
Gives you control over the brewing process — These are manual models, so you can control each step of the brewing process.
Cons
Complicated use compared to automatic machines — You need to go through more steps compared to pressing a button and having an espresso.
Don’t heat up — Flair models don’t heat the water, and Flair 58 is the only model that preheats the brew head.
Time-consuming — You’ll have to wait about three minutes before you get your espresso.
No milk steamer — No way to steam milk for lattes and cappuccinos.
Limited serving size — It only brews one espresso at a time, and you have to repeat the process for each shot you pull. This is time-consuming, especially if you’re entertaining and brewing espresso for several people.
Final Considerations
Overall, I’m a fan of Flair espresso makers. They have a durable build, affordable price, and, most importantly, produce great espresso. However, keep in mind you’ll need a quality burr grinder, kettle, and a pressure gauge with some models.
If you’re new to the world of espresso, check out our selection of the best espresso machines for beginners, and if you don’t want to buy a separate grinder, here are the best espresso machines with a built-in grinder.

