A good espresso machine and grinder are useless without a good puck prep technique. The most important part of that technique is the tamp when you compress the coffee in the portafilter to create an espresso puck.
Tamping espresso is all about an even distribution of coffee grounds and creating a level puck. Many home baristas overthink the force of the tamp and not enough on having a flat tamp with a level coffee bed.
Learning to tamp properly is a simple but invaluable skill for every home barista. In this article, I’ll explain how to tamp espresso, why it’s so important to get it right, and a few tools that can help create consistency in every tamped puck.
What Is Tamping?
Tamping is the process of compacting finely ground coffee in the portafilter before brewing espresso. Using a tamping tool, you press down on a level bed of coffee grounds to produce an espresso puck: a flat coffee disc inside the portafilter.

Proper tamping is essential to brewing evenly-extracted espresso since it allows for consistent water flow across the entire bed of coffee. Conversely, improper tamping can lead to extraction problems that negatively impact the flavor of your shots.
Tamping affects espresso in three important areas:
- Flow rate
- Consistency
- Flavor
Let’s go through each of these.
Flow Rate
Properly tamped coffee grounds enable water to flow through all parts of the coffee puck evenly.
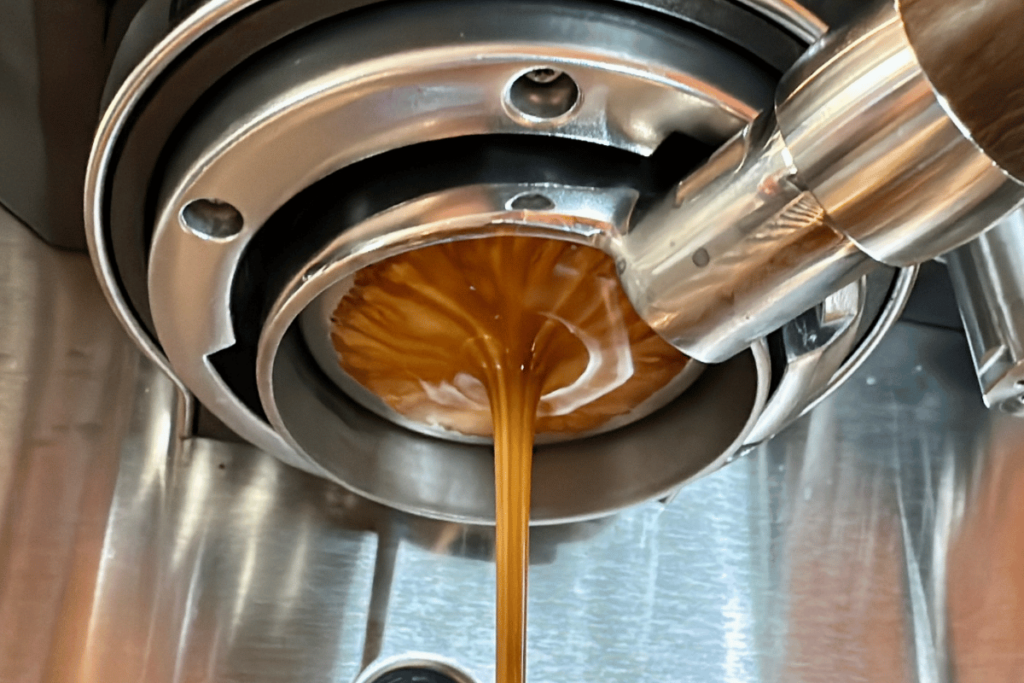
If there are air pockets in the coffee bed, water will use them as a shortcut, flowing more quickly through these pockets. This is called espresso channeling, which is a result of uneven water flow through the grounds where water uses those air pockets as the path of least resistance through the puck. The flow rate for water should be the same across all parts of the coffee puck to ensure even extraction.
A common urban legend amongst baristas is “tamp harder” on the puck. Actually, your tamping pressure does not meaningfully impact the flow rate or prevent channeling. Barista Hustle found only a 3% difference in puck size between applying regular and maximum force. High tamping force has minimal effect on the puck and will only give you “barista arthritis.”
Instead, the evenness of a tamp is the most important factor in producing a consistent flow rate through the coffee puck.
Consistency
Proper tamping creates consistency in flavor and brew time from shot to shot. If your espresso shots taste wildly different despite using the same beans, dose, and grind size, puck prep is the problem. Your espresso tamping technique can be the variable that causes all your shots to brew at different times or produce wildly different flavor profiles.
A good tamp also ensures consistent extraction within the shot. A tamp that isn’t level causes channeling, where water flows through coffee more in certain parts of the portafilter than others. This creates both over-extraction and under-extraction at the same time, producing a shot that’s an uneven mess of different extraction levels.
Flavor
Of course, the most important part of an espresso shot is how it tastes, and tamping plays a huge role in creating a good (or bad) flavor. As mentioned, tamping influences the extraction process.
Under-extracted coffee can result in weak, sour flavors, while over-extracted coffee creates bitter, astringent notes. An even tamp leads to even extraction, producing a clean, balanced flavor
How to Tamp Espresso
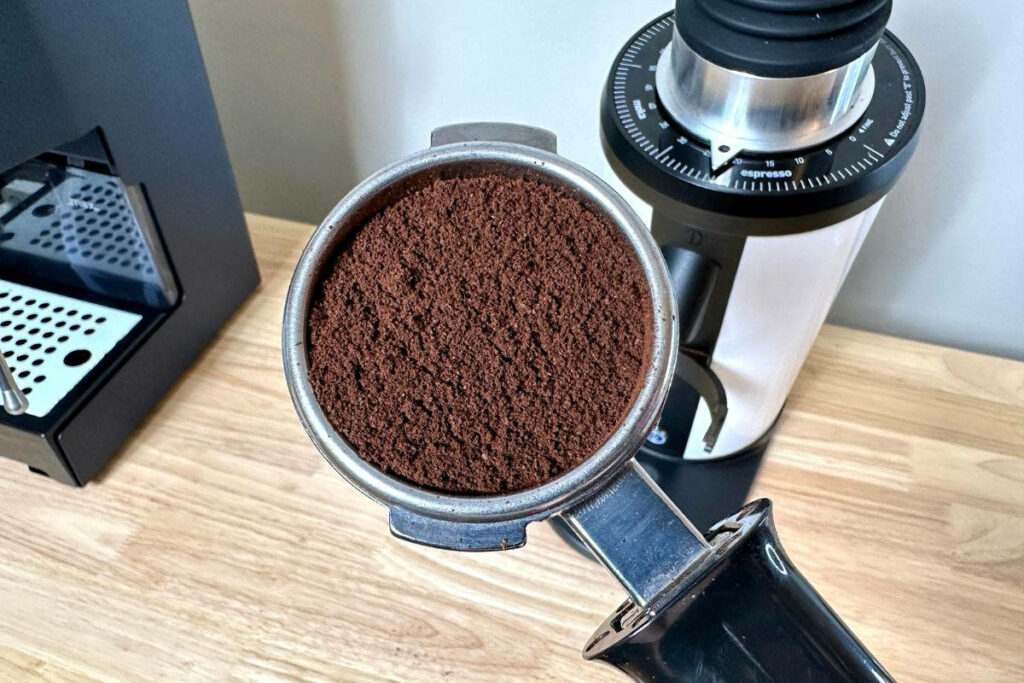
Start by grinding your coffee. Many of the problems that come from poor tamping can also be the result of inconsistent grind size, or a grind that’s too coarse. Before you tamp espresso, make sure you have a good espresso grinder that provides a fine, even grind. Nothing I write in this article will make up for a bad grinder!
Next, distribute the coffee grounds evenly. No matter how level your tamp is, you’ll still end up with an uneven coffee puck if the ground coffee is distributed unequally around the portafilter. Gently shake the portafilter back and forth to level off the mound of coffee in the center until it’s approximately equal everywhere.
Alternatively, you could also use a distribution tool (more on that later) to more reliably even the coffee bed’s surface.
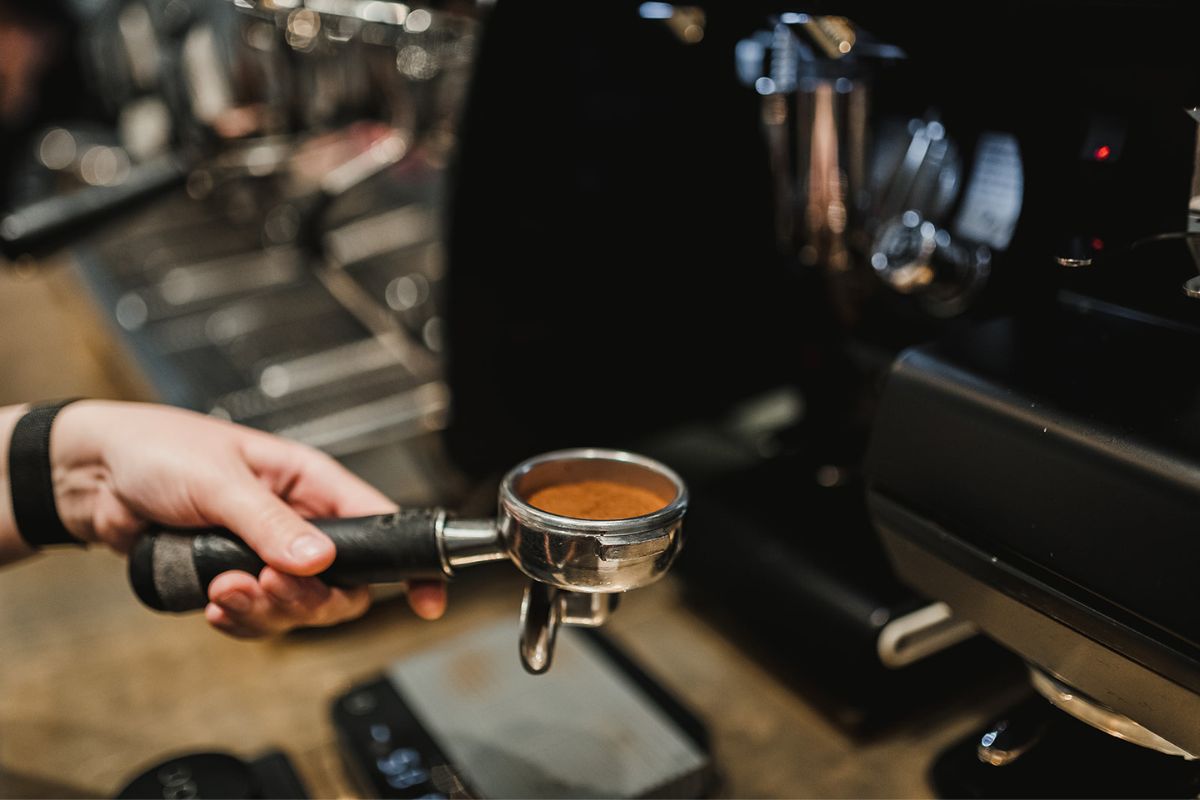
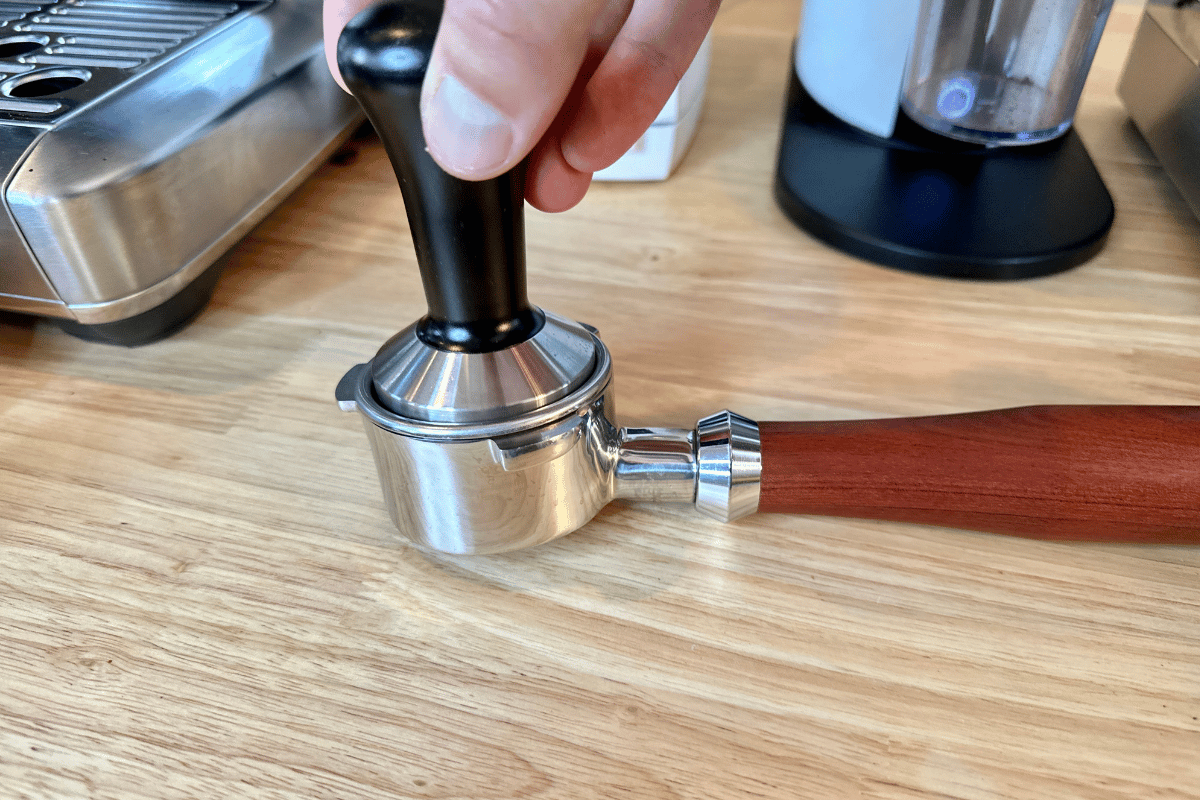
Now, place the espresso tamp on the puck and apply even pressure. This is where proper technique really comes into play.
To ensure even pressure, hold the espresso tamp using the “doorknob” method. It works exactly like it sounds: grab the espresso tamp like you would grab a doorknob. Your thumb should sit on one end of the espresso tamp where it meets the edge of the portafilter, and your index finger should curl in a half-circle along the edge of the espresso tamp on the other side.
This will allow you to feel if your tamp is even or if one side is sitting higher than the other.
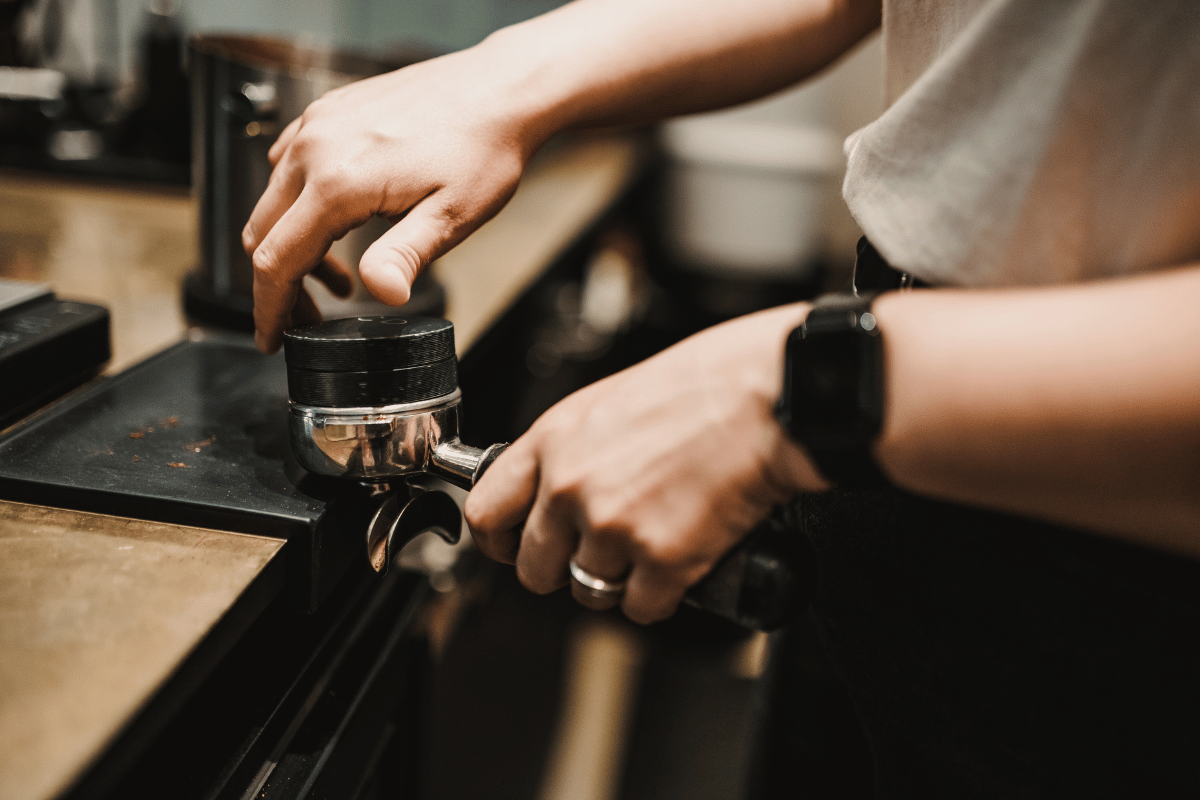
To keep the tamp from tilting while you apply pressure, raise your arm until your elbow is directly over the portafilter. Your hand, wrist, forearm, and elbow should all be in a straight line at a right angle to the tamp. The pressure will come from moving your arm down, not from pressing with your wrist or hand.
Now, gently lower your arm toward the portafilter with light pressure. The amount of pressure you apply is not nearly as important as making sure that pressure is applied evenly. Trying to overexert yourself and press too hard can often lead to tilting the tamp in one direction or another, making an uneven puck.
Once you finish applying pressure, remove the tamp from the portafilter. You can do a quick visual inspection to see if the tamp was applied properly. Many portafilters have a subtle divet that forms a ring near the top of the basket. You can use that as your guide to check whether your coffee bed looks flat and even.
Remember that consistency is key. The pressure you apply, the leveling of the grounds, and the overall technique should be the same each time you tamp.
You might notice that some baristas spin the tamper or tap it on the side of the portafilter as part of their puck prep. These are not necessary for tamping well and might even indicate something is wrong with the technique or the tamp itself.
Do no tap the portafilter after tamping to remove coffee on the walls of the portafilter. Tapping will knock off the coffee stuck to the basket’s walls, but it disturbs the puck. You will have to re-tamp everything. If you have coffee stuck to the walls, that means the tamper doesn’t properly fit the filter basket and is letting coffee escape around the sides of the tamper.
Spinning the tamper is neutral. Some baristas claim it ensures proper distribution, but the shape of a tamper isn’t designed to distribute coffee in the basket (that’s what a distributor is for). Also, if you spin the tamp after tamping, there’s nothing left to be distributed anyway since the puck is compressed. From my experience, spinning the tamper is more of a ritual that some baristas pick up. To each their own.
All that to say, if you have the right tools and are using the right technique, spinning and tapping are two superfluous actions that won’t affect your espresso.
Best Espresso Tampers
A tamper is a simple tool whose effectiveness depends on the user. So, the “best” espresso tamper is subjective and depends on what you think feels most comfortable. There are two things that do matter when choosing a tamper:
- Make sure the tamper fits fully to the edges of the portafilter: check your portafilter size and get a tamper that perfectly fits that, whether 51mm (DeLonghi), 54mm (Breville), or 58mm (most every other espresso machine). You don’t want espresso grounds going up along the edges, as that can lead to channeling.
- Consider a self-leveling tamper: These tampers have an extra ring that sits on the outside of the tamper and ensures your tamp is always level. It’s an extra expense but makes tamping much easier.

Here are a few suggestions for where to start with a reliable, well-made tamper.
1. LuxHaus Espresso Tamper: This tamper has a very basic design, but it’s comfortable and it works. There are no bells or whistles to speak of, but it will get the job done. The LuxHaus tamper is available in a 53mm or 58mm size.
2. Ikape Self-leveling Tamper: This self-leveling tamper makes life easy for even the most inexperienced home barista. Ikape has an internal spring to regulate consistent espresso tamping pressure, and it is designed to prevent the tamper from angling sideways while tamping. Ikape has multiple size options to fit Breville, DeLonghi, or standard 58mm tampers.
3. MATOW Tamper and Distributor: This 2-in-1 tool takes all the guesswork out of tamping. One side is a distribution tool, and the other is an adjustable tamper. This lets you tamp your espresso by simply placing the tamper in the basket and letting it do all the work of leveling and applying pressure.
Should You Use a Distributor?
A distributor evens out espresso grounds in the portafilter basket. It’s not mandatory by any means. It can help if you get frustrated by the big mound of grounds that come into your portafilter basket. If that’s not easy to level, using a distributor before tamping will improve the consistency of your espresso shots.
Personally, I don’t use a distributor as it’s just one extra step. Instead, I level the coffee grounds with some simple side and bottom taps on the portafilter. That works perfectly well for me, and I’ve seen other people use their fingers to level the grounds. If you want to try a distributor, you can check out the 2-in-1 distributor and tamper.
You can find more recommendation on espresso tools in our review:
Conclusion
Once you nailed your puck prep, the next step in making delicious espresso beverages is learning to steam milk! Read our milk steaming guide so you can learn to make the perfect latte.