If you want a flavorful cup of coffee exactly the way you want, it’s time to learn pour over coffee. Whether a Chemex, V60, or a Melitta, the process of pouring over water on the grounds better extracts flavor with more control for a way better experience than a drip coffee pot.
I’ve tried different pour over methods and will break down the process into simple steps with a Chemex recipe. Anyone can learn pour over coffee, and you’ll enjoy coffee more with it.
I’ll start with the background on pour over coffee, then gear and technique before getting to the recipe. Or, go straight to Chemex recipe.
What Is Pour Over Coffee?
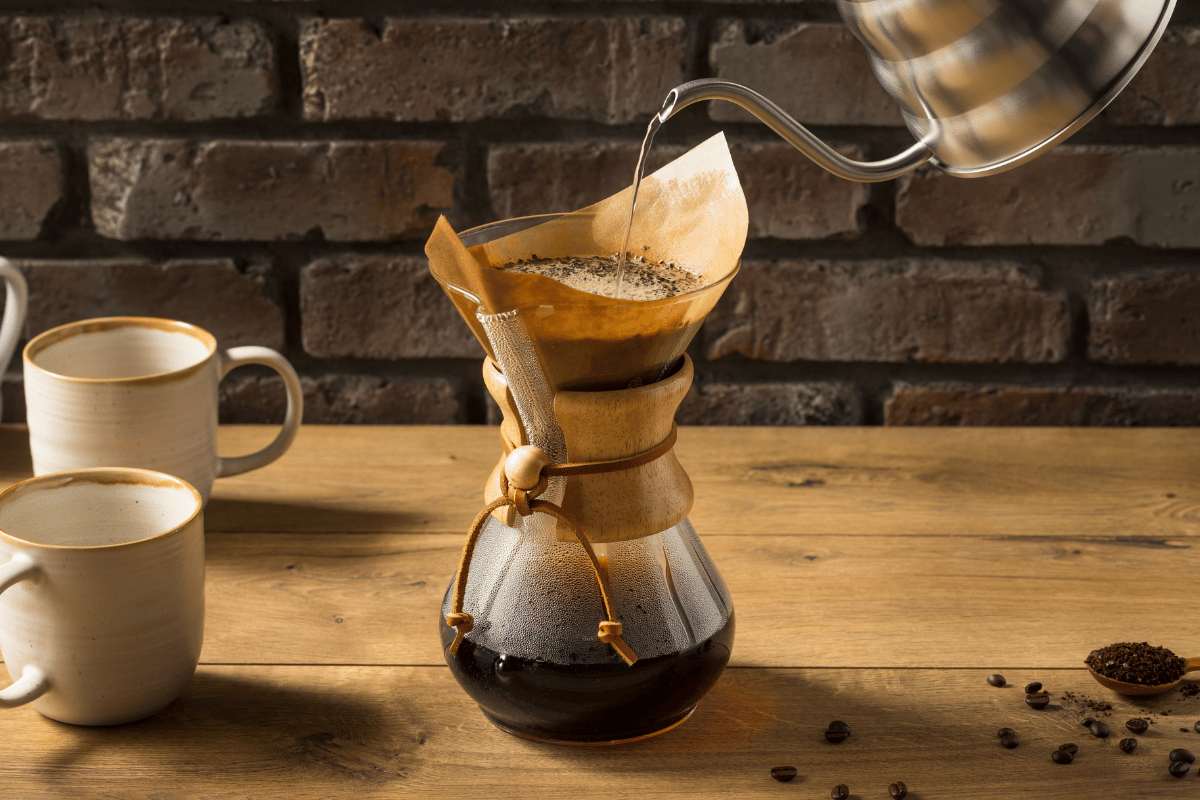
You’ve probably seen baristas steadily pouring hot water in circles over a cone of grounds floating on top of single-serve carafes. That is pour over coffee brewing in action, which refers to any brewing method where hot water is manually “poured over” the grounds.
The pour over method is an intricate and manual way of brewing coffee. The process itself isn’t that difficult (as you’ll learn) but requires focus. The manual pouring process puts the barista in complete control over the process. That creates infinite ways to bring out different flavors in a single cup of coffee.
Pour over coffee is also called filter coffee, but it’s nothing like the drip machine. It’s a completely manual brew process where you get to watch the water steadily run through the coffee beans. The barista has full control when making pour over coffee. The manual pour allows the brewer to control exactly how and where the water is dosed over the grounds. The coffee gets more evenly and properly saturated than a coffee pot, where there’s a small nozzle dumping water in one area (why coffee pots manage to taste simultaneously bitter and weak).
The controlled pour brings out a complex flavor profile. Barista Hustle found that pour over brewing extracts the same flavor as immersion brewing (like French press) and gets 40% more coffee from the same amount of coffee grounds.
Pour over coffee brings out the delicate and flavorful notes without the bitter aftertaste. You’re more likely to notice those flavors notes on the coffee bag, and the filter strains grounds for “clean” mouth feel. This nuanced flavor profile is why some coffee shops (like Blue Bottle) only brew pour over coffee.
Pour over coffee originated in the early 1900s with Mellita Benz, but it has become popular only recently. Research firms noticed the growth in pour over brewing years ago alongside the rise of third-wave coffee (we like to call it craft coffee). We found interest has doubled since then. The attention makes sense given the vibrant flavor of pour over coffee compared to automatic machines.
There are many pour over devices to choose from, including V60, Chemex, Kalita Wave, Melitta, and BeeHouse to name the most popular ones (you can find all the methods here).
Advantages And Disadvantages of Pour Over Coffee
I’ve already highlighted the main benefit: flavor. Pour over brewing also creates a lot of control over the brewing process. If you like a weaker cup, you can change your pour for a faster brew and lighter taste. You can tweak the grind finer for a more roasted taste. Either way, you control the pouring process, not a coffee machine.
The most common drawback is the difficulty. You can easily under-extracted flavor by pouring too quickly, which leads to a sour or acidic taste. At Craft Coffee Spot, we believe pour over brewing is accessible. The recipe shows it only takes a few tries to make a great cup.
Pour Over Coffee Brewing Equipment
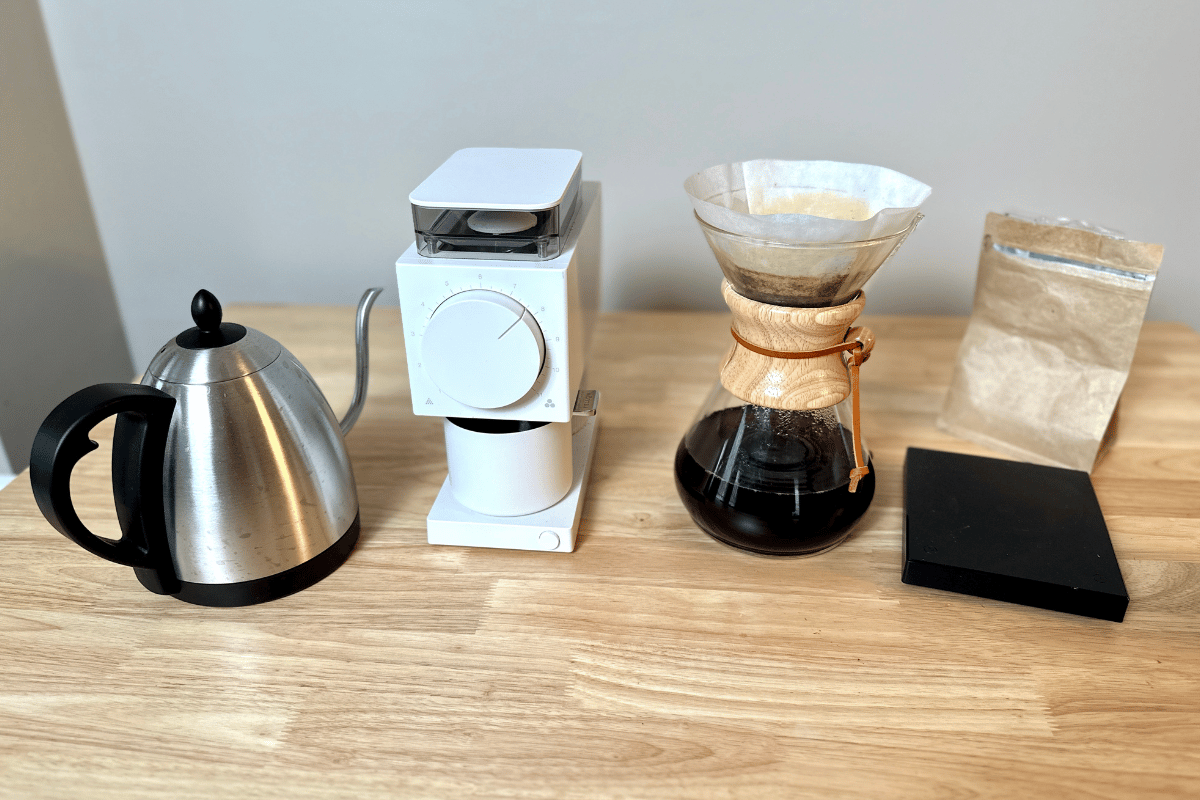
The nice thing about pour over coffee is it requires little equipment. You need the following:
- Brewing device
- Filters
- Scale
- Kettle
- Grinder
- Beans (of course)
The equipment really doesn’t cost more than a good drip machine, with the exception of the grinder. I’ll go through each piece of equipment and its importance.
Brewing Device
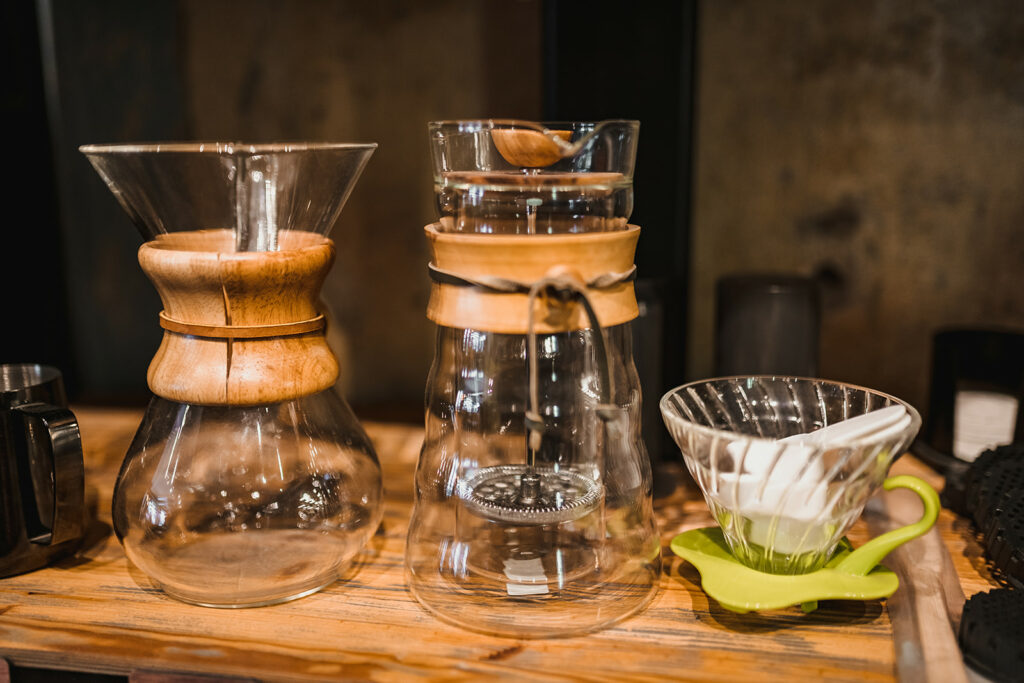
The obvious first choice is the pour over brewing device. Ask yourself the level of difficulty you can handle, along with your desire to experiment with coffee flavor. Flat-bottomed drippers, like BeeHouse or Melitta, are easier and more forgiving although they taste more earthy.
Cone-shaped drippers, like V60 and Chemex, are my personal favorites as conical shape leads to a more steady flow for even flavor, but they require more precision given a faster pour time.
Filters
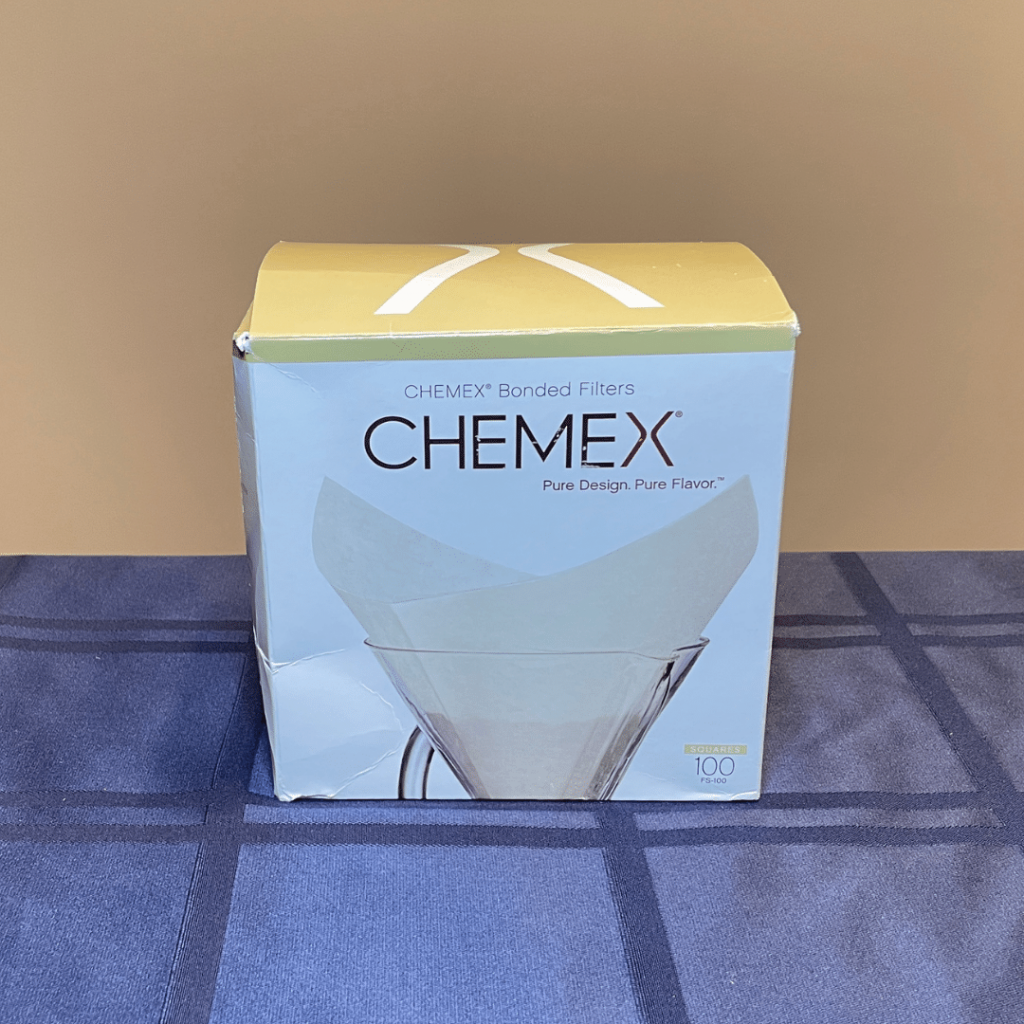
Some pour over makers have unique filters, so check what works with your device. This is where flat-bottom drippers are more popular, because they take the standard #2 filter, found at any grocery store. Chemex and V60 still have plenty of filters available at specialty coffee shops or online.
There are different types of filters: bleached, natural, or cloth. We recommend bleached because it has the lowest impact on taste.
Scale
A scale is a must have for pour over. You need to measure your brew weight to know the proper ratio and track your pour increments. Otherwise, you’re flavor will be off when you add 20 grams too many. Worse, you’ll never get a consistent cup of coffee, with some turning out amazing, and others watery or bitter.
We’ve done a range of coffee scale reviews, and actually found just about any scale will work from a budget $20 scale to a premium $250 Acaia that I tested (it’s nice but not necessary)
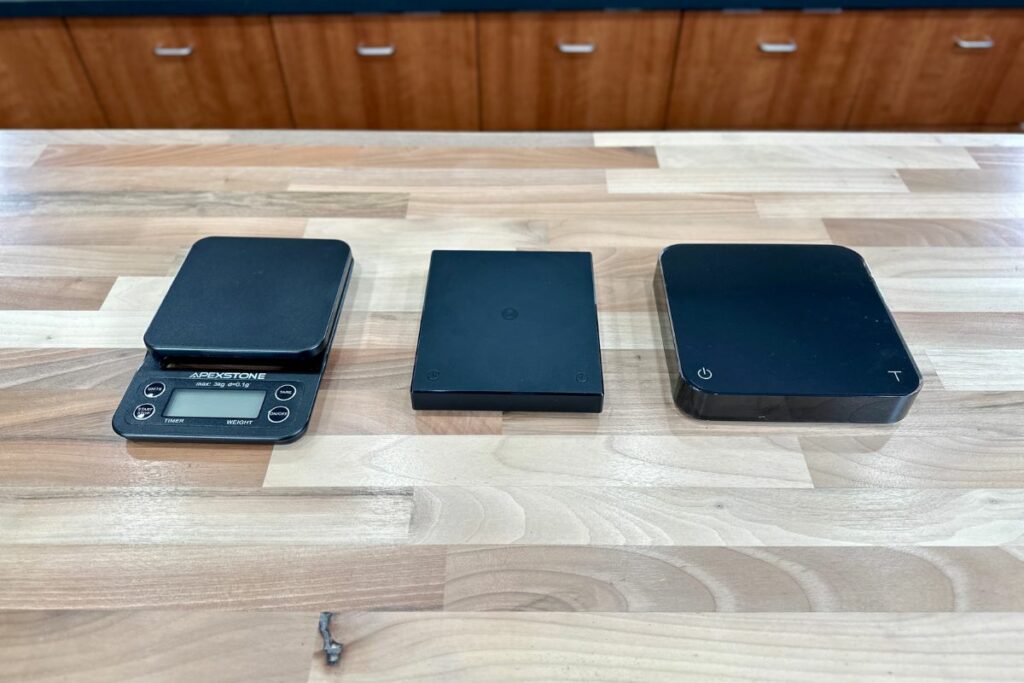
My favorite for pour over coffee is the TimeMore Black Mirror, because it shows your pour speed so you can stay very consistent. Honestly, you can get started with the Apexstone, which is accurate with a timer as well.
Kettle
The kettle is the tool for pour over brewing. You’ll hold the kettle each time you brew, and the pour has a big impact on taste. You want a kettle that you can “aim” with a steady pour speed.
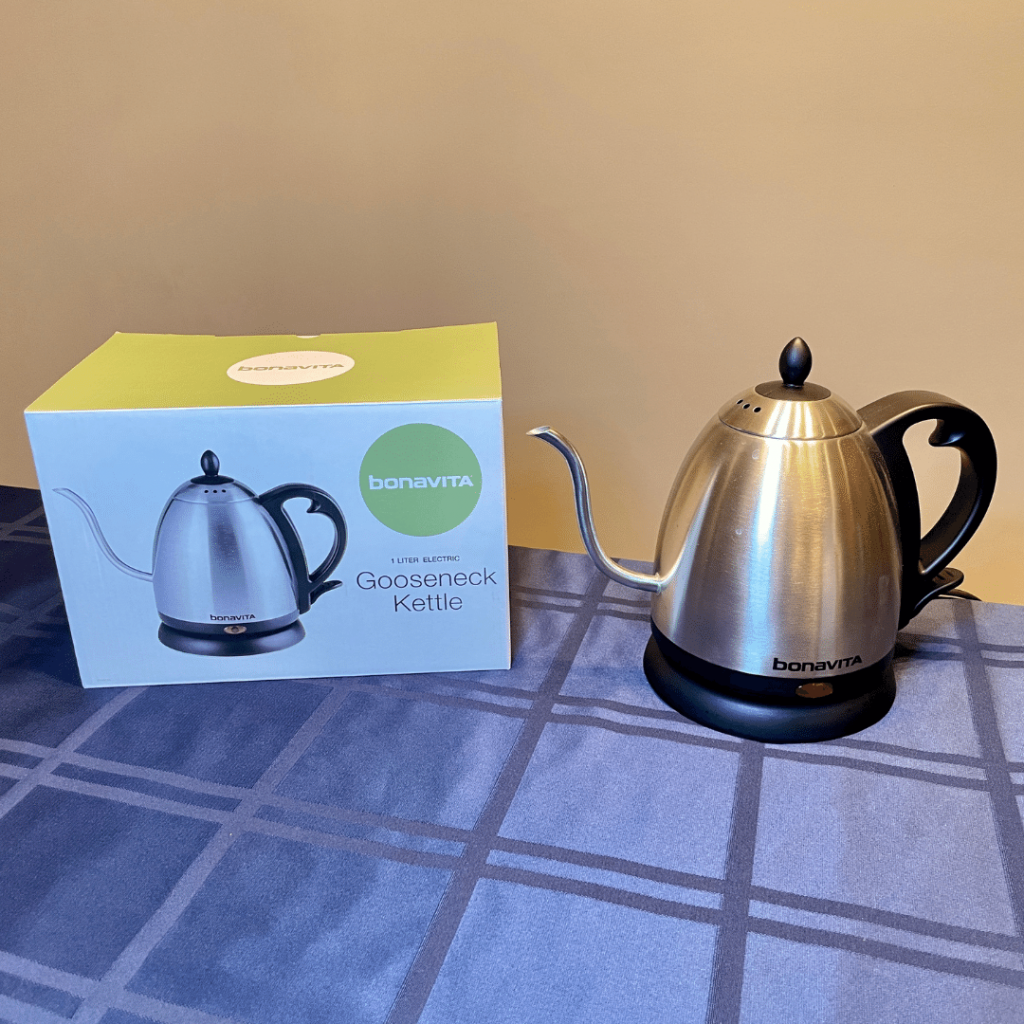
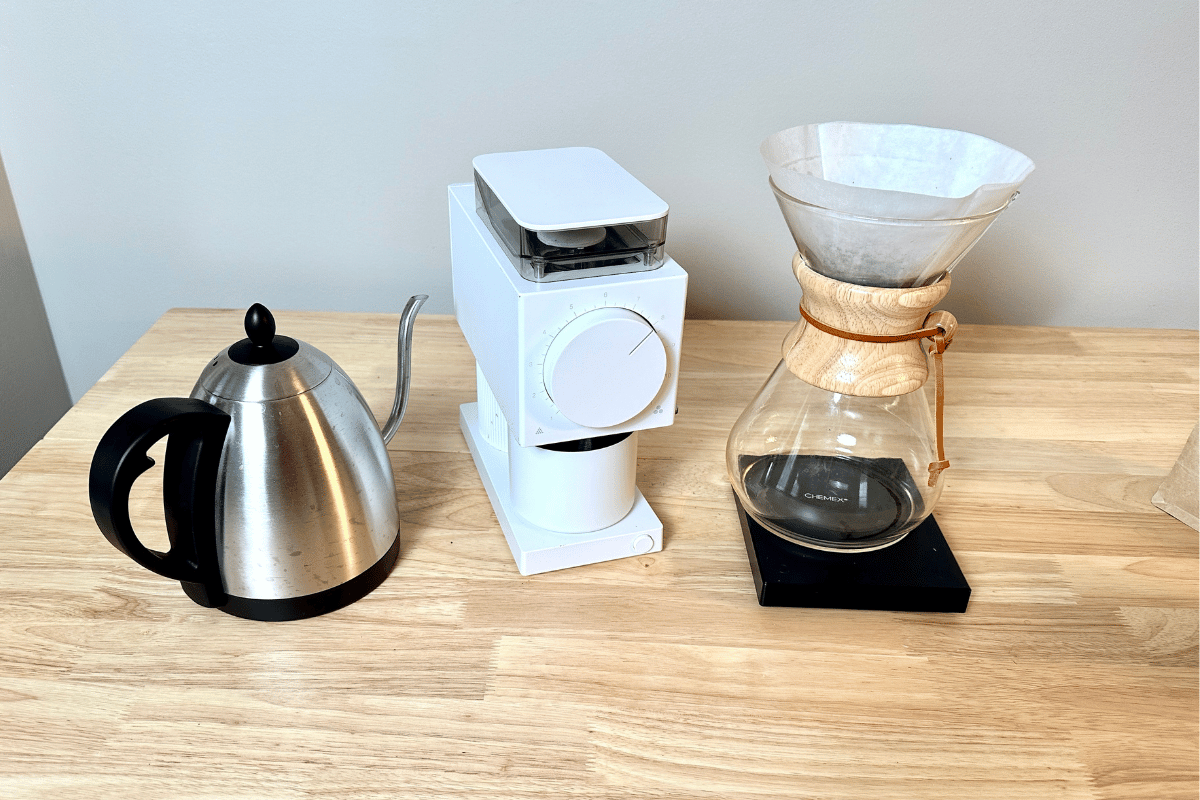
The best kettles have a long thin spout, known as gooseneck kettles. You can buy a standalone kettle or one that has an electric heating base. Bonavita makes the best design with an extended spout.
I’ve actually tested two others, including the popular Fellow Stagg, but I still think the Bonavita is the best. The model with temperature control is even better because it can hold a perfect 200 degree temp, and I use mine for tea as well.
Grinder
Your grinder is the most important piece of coffee equipment you own, and not limited to pour over either. A consistent grind size is going to make a bigger impact than water temperature, pour speed, or any other factor (except coffee beans).
We always recommend using a burr grinder. Burr grinders produce the most consistent grinds. For pour over, you want a very consistent grind size given how particular the coffee is to your pour. We’ve rounded up the best pour over grinders here, which include grinders with very consistent burrs.
I used to use a Baratza Encore, but recently upgraded to the Fellow Ode Gen 2, which is excellent. It has a big flat burr for consistent grinds and high clarity coffee. It also has easy settings, a nice catch cup, and is ultra-quiet.
The Best Coffee Beans For Pour Over Coffee
A light or medium roast coffee bean is best for pour over coffee. I already talked about the efficient extraction process, where pour-over devices pull the light and delicate flavors fully from the coffee bean. Light and medium roasts retain more of these flavors, which get burned off in dark roasts.
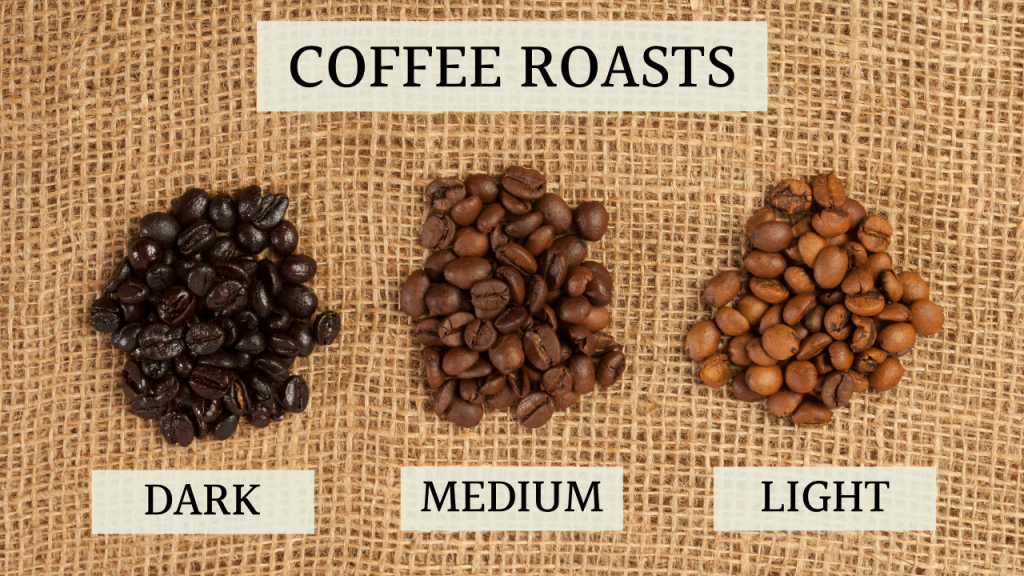
As far as a more specific recommendation, it’s totally up to you! Any origin, blend, or processing method can work in a pour over, and you should choose what flavor profile is best. The beans should be roasted within the last month for the best freshness.
The grind size depends on the device. Chemex uses a medium-coarse grind because it has a thicker filter that slows the water flow. Meanwhile, single-serve pour overs use a medium-fine grind size. Take note of the initial grind size and plan to tweak it over time.
Pour Over Technique
By technique, I’m referring to how you pour hot water over coffee grounds. There isn’t a right way to pour, but the key is evenly pour over the coffee ground.
When making pour over coffee, make sure you evenly wet the coffee grounds and keep them saturated at all times. This maximizes the extraction of flavor.
There are two pouring methods:
- Continuous pour: a constant stream of water over the coffee grounds. The continuous pour keeps the coffee bed at a consistent temperature, leading to a steady extraction. You can get more consistent results…if you have the arm strength to keep pouring slowly for a few minutes straight!
- Pulse pour: do batches of hot water over the grounds. The pulse pour agitates the grounds and extracts more flavor from all the coffee grounds, because there is more turbulence in the grounds. This leads to a faster extraction and brew time.
I recommend the pulse pour because it is easier and faster. That said, just make sure you pour evenly in steady shapes. Concentric circles are the most common way.
How To Make Pour Over Coffee: Chemex Recipe
I’ll go through my recipe for how to make a pour over coffee using the Chemex. This is a good starting recipe using the pulse pour that makes two full cups of coffee.
Step 1: Prepare Coffee And Water
Grind about 40 grams of coffee beans at a medium-coarse grind. Since the Chemex has thick-walled filters and this brews two cups, use a coarser grind than other pour over coffee.
I use a 1:16 ratio of coffee to water, which means 22 ounces (640 grams) of water to 200-205 degrees Fahrenheit. If you boil the water, let it cool for 30-60 seconds before starting the pour.
Step 2: Set And Wet The Coffee Filter
Chemex filters are folded into four layers. Spread open one layer of the filter and place the three-layer side of the filter against the glass spout.
The thicker side prevents the filter from collapsing on the spout and allows air to flow so the water can pour.
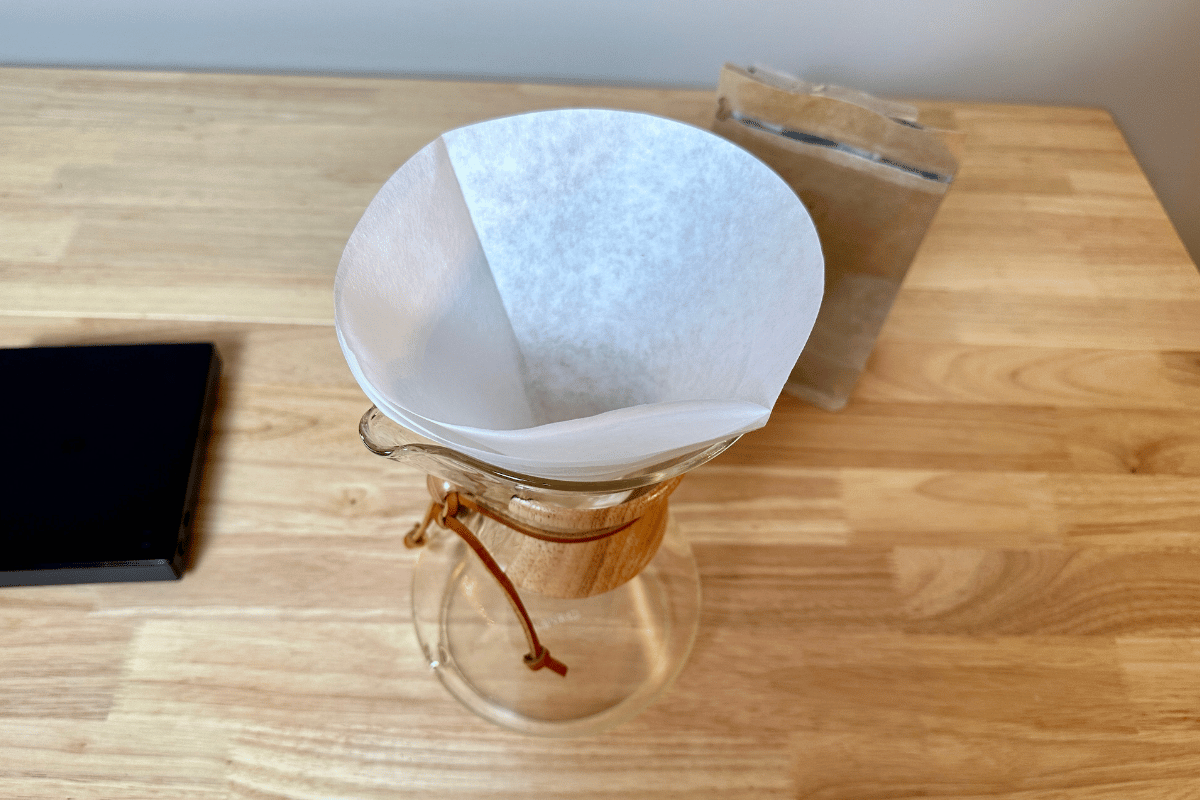
Wet the filter with hot water to remove the paper taste and heat the carafe. Dump out the filter water!
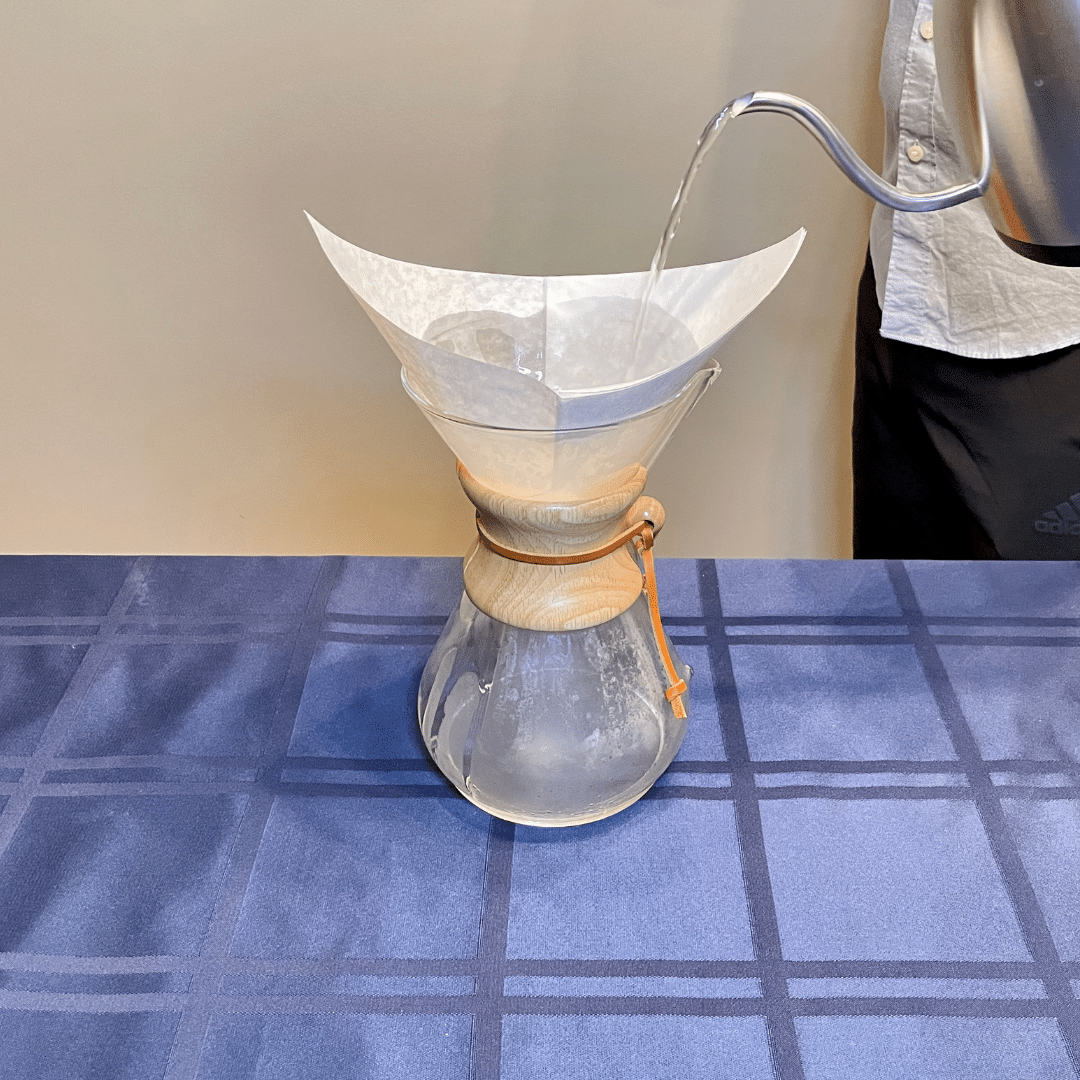
Step 3: The Bloom
Pour the ground coffee into the Chemex and make sure it’s even (shake the brewer a little to do so). Place the Chemex on your scale and tare our the scale (set it to zero).
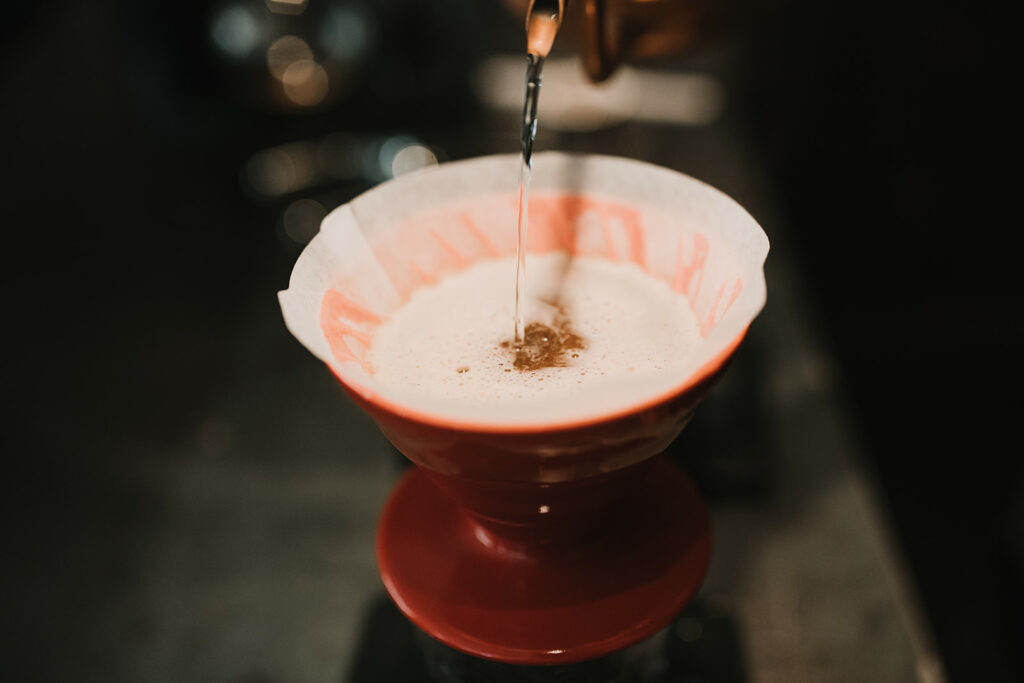
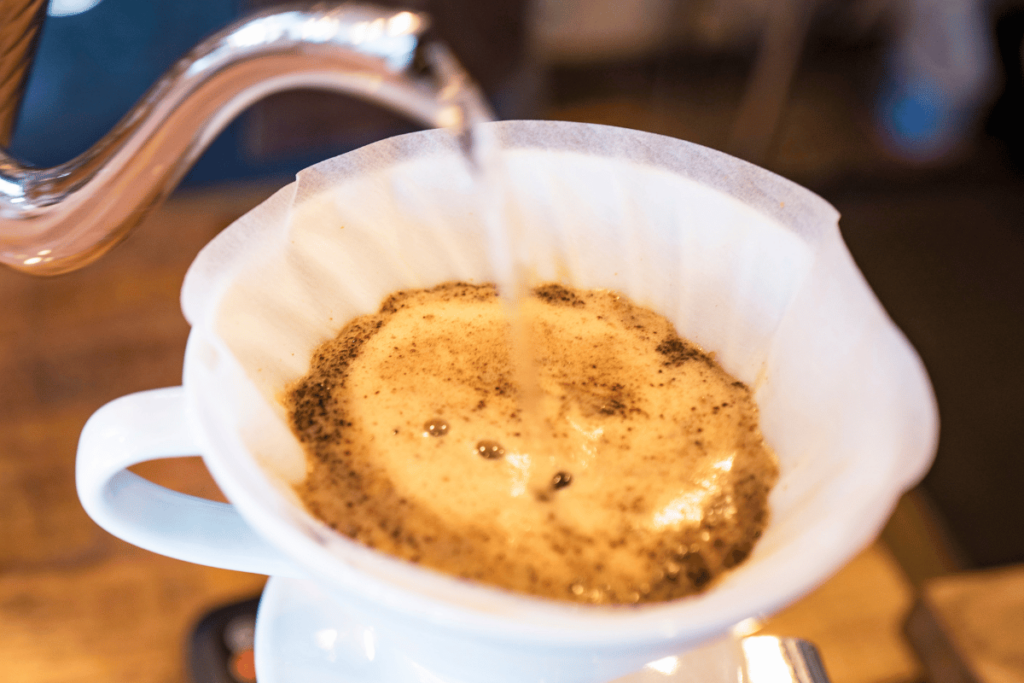
We now need to bloom the coffee with initial water. The goal here is to pour a little water to force out all the carbon dioxide. There’s always carbon dioxide in fresh coffee, and it repels water which prevents extraction (carbon dioxide also tastes bad).
To bloom, pour 80 grams of water (double the amount of coffee). Start pouring in the middle, make concentric circles moving towards the edge, then move back towards the middle until you have poured out the full 80 grams.
The coffee should rise and carbon dioxide will come out. That is the bloom in action.
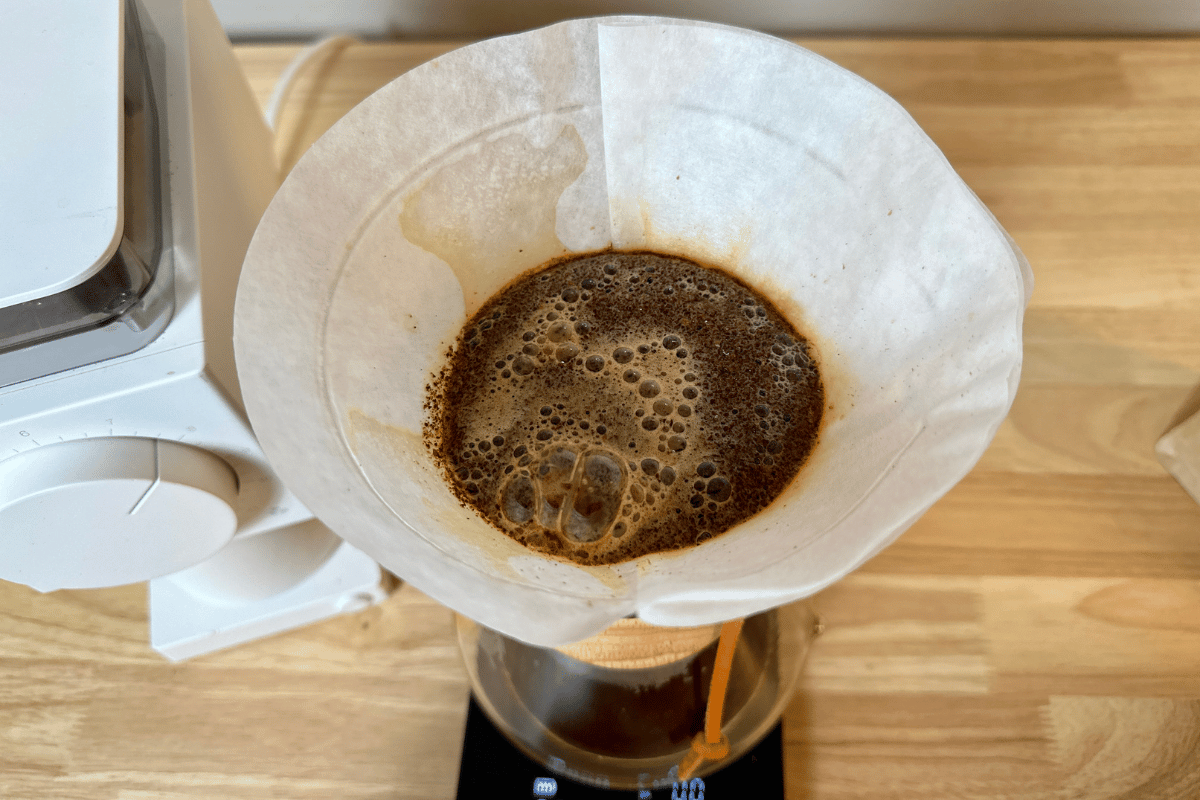
Step 4: The Main Pours
Once the coffee has bloomed, begin the main pour with the remaining water. I use a pulse pour. With each pulse, pouring in concentric circles and keep the spout close to the water to avoid agitating the grounds.
It should take three or four pours to use all the water. These are my typical pours:
- Bloom: 80 grams
- Pulse 1: 200 grams (280 grams total)
- Pulse 2: 200 grams (380 grams total)
- Pulse 3: 160 grams (640 grams total)
I front-load the pour to make sure I’m getting the most extraction at the start. Watch the scale as you pour! It’ll tell you in real-time if you are pouring fast or slow.
Stay focused on the steady pour. Enjoy the slow drip and aroma to start your day.
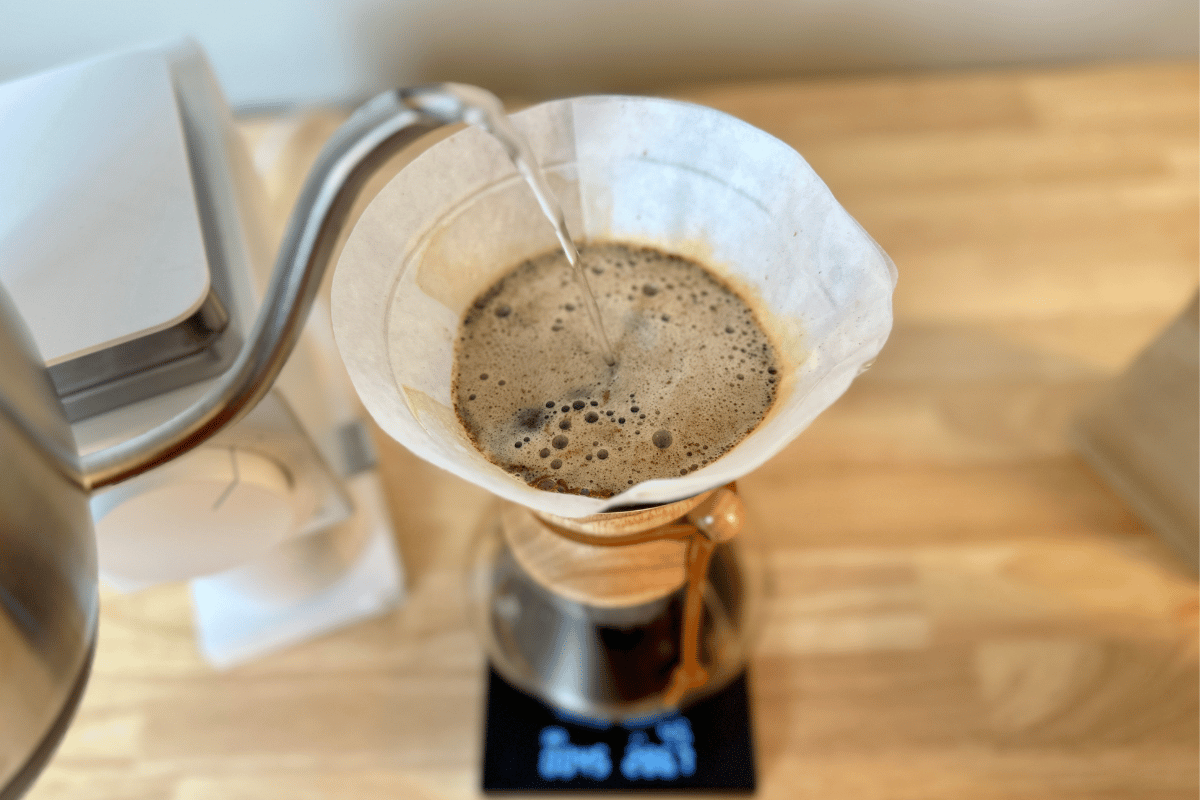
Step 5: Pour Out And Enjoy
Once you have poured all the water, wait until most water has drained through. A flat bed of grounds is a sign of a consistent pour. The last drops will be the most extracted and bitter, so don’t wait too long to toss the filter.
Pour out the delicious coffee and enjoy. The entire brew process should take about 3-4 minutes.
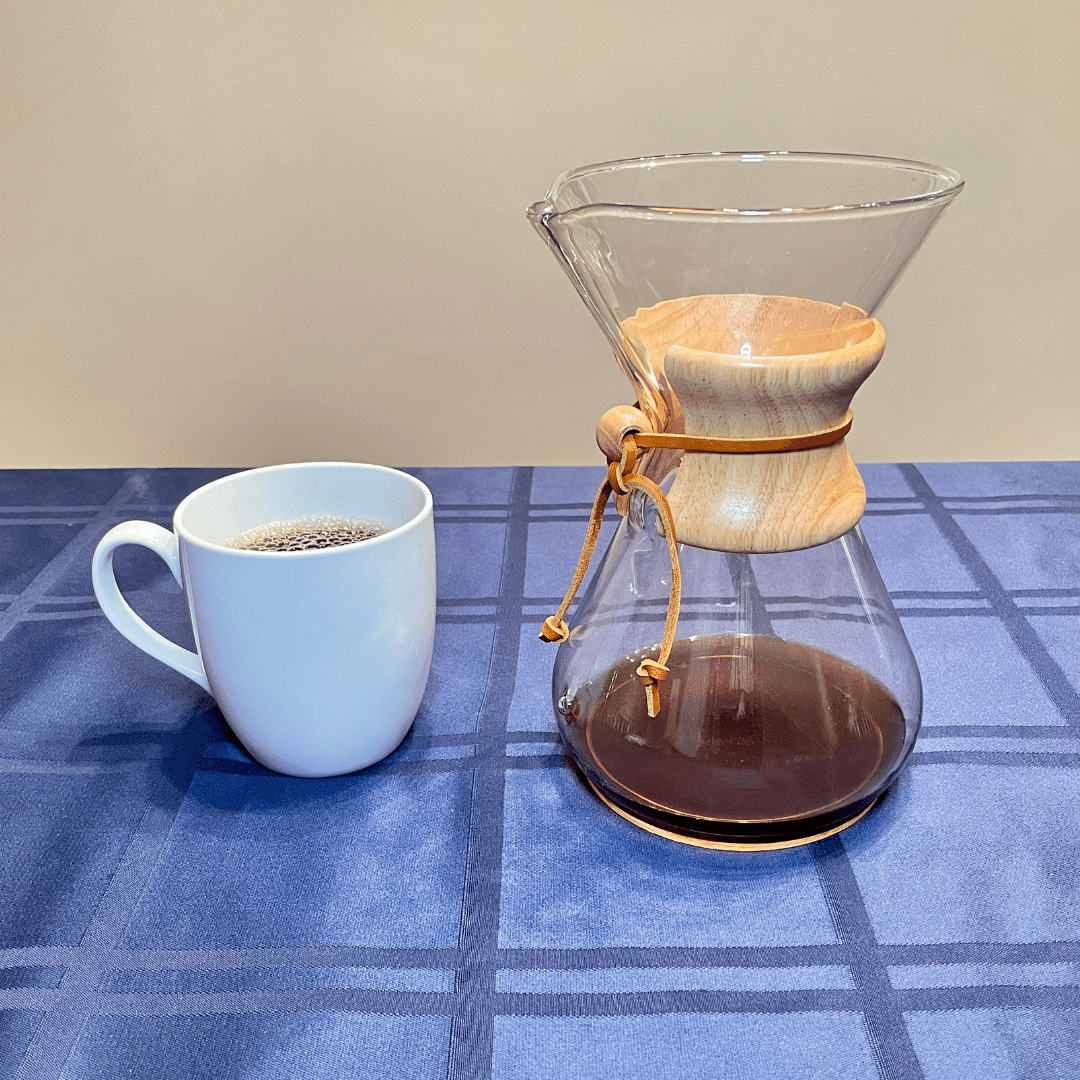
Refining Pour Over Coffee Brewing
The great thing about pour over coffee is there are infinite ways to brew. My brew recipe is just a start. You can change many things to get a different flavor: coffee ratio, water temperature, grind size, and pour technique.
The grind size is the best place to start tweaking. The grind size will cause an obvious change in coffee flavor, and it’s an easy setting to change on a burr grinder. Change one variable at a time, or it will be impossible to tell what mattered most for the coffee.
What Next?
Congrats! You’ve mastered the pour over process. Now read our other coffee brewing guides to step up your coffee game further.


